Happy Fourth of July to everyone today! I am so excited to now be apart of Women Who Do It All. I thought since today is my first official post, I would give a little intro about me and my piece of bloggy land first.
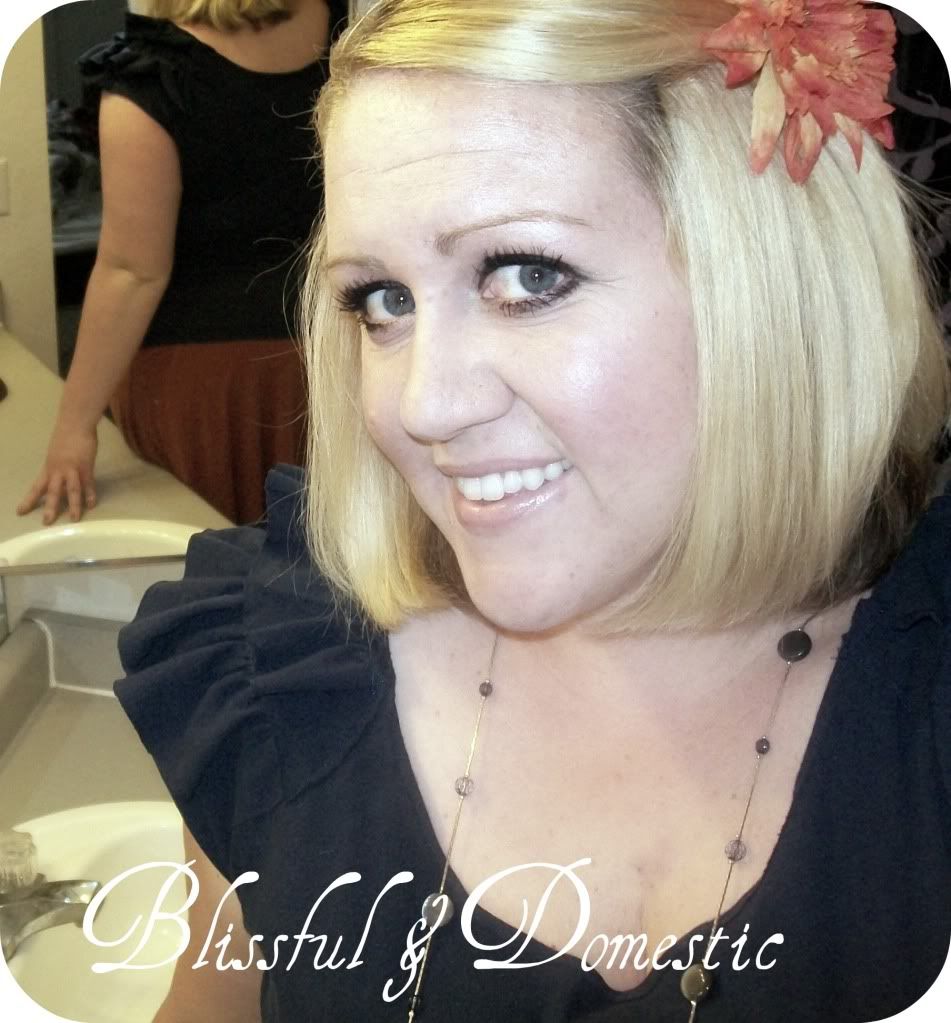
I am Danielle and my home is over at Blissful and Domestic. I love to blog about sewing, crafts, recipes,home-school, etc. Basically anything that allows me to use my creative gene. I love thrift stores and re-purposing, which is mainly what you will expect from me. I love taking someone's cast offs and make them into something fantastic. We just moved into our first home about 2 months ago and have been fixing it up.
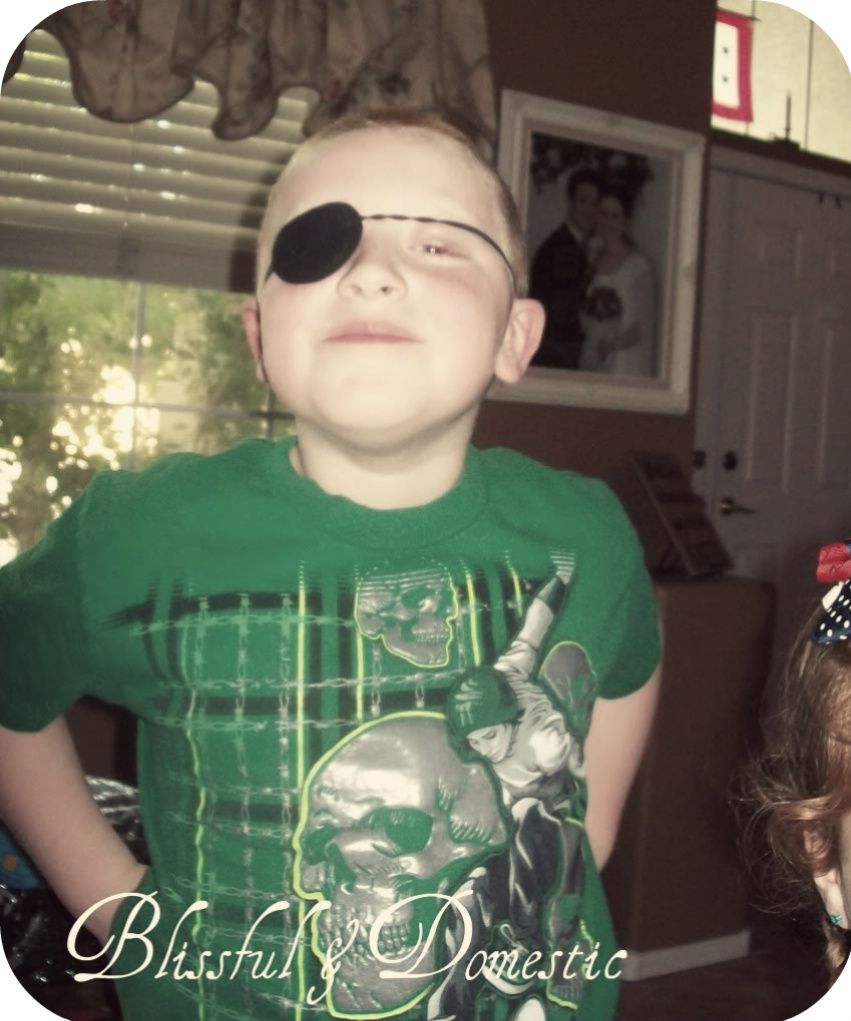
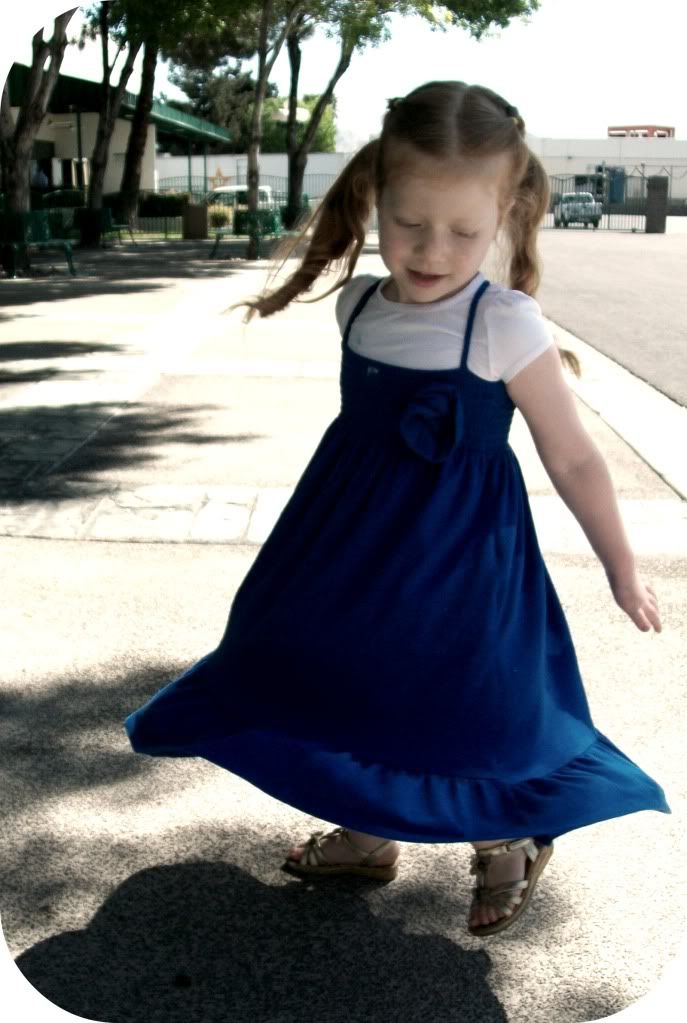
I have two red heads, who crack me up every day.
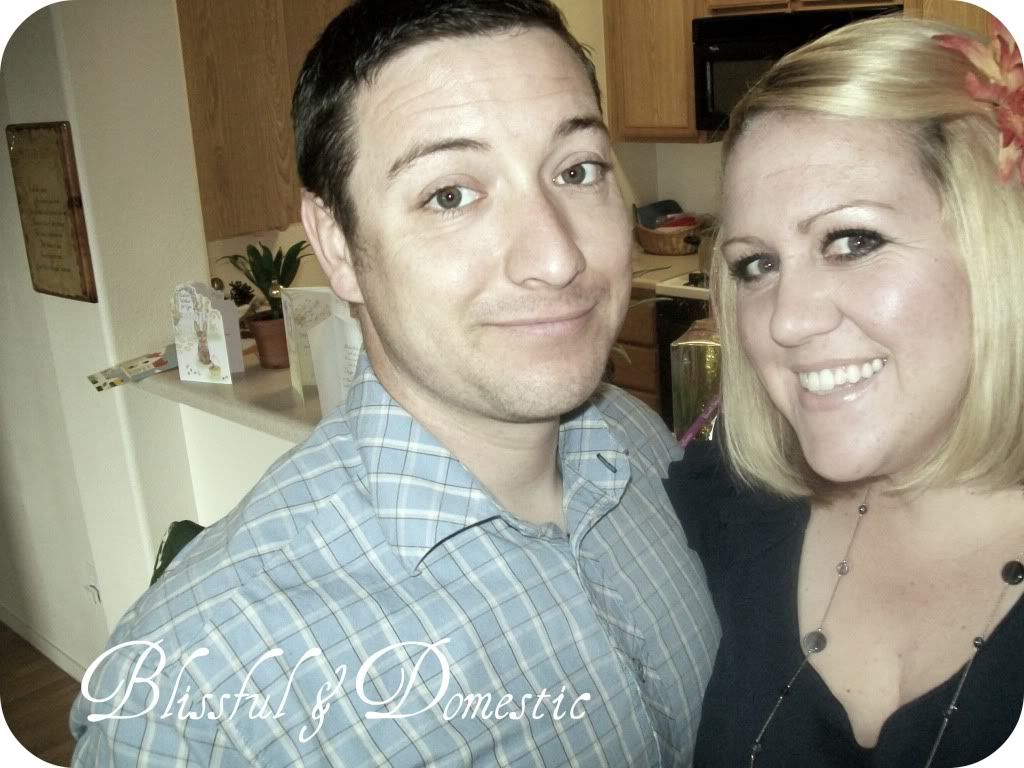
an awesome hubby who is great at supporting my random craft habits:>
Poor man never knows what he will come home to.
He is great at supporting and inspiring my ideas, and with expressions like this one, what's not to love?
;>
So that about sums me up
I know we will all become vast bloggy friends,
which I am totally stoked about
Now onto the tute...
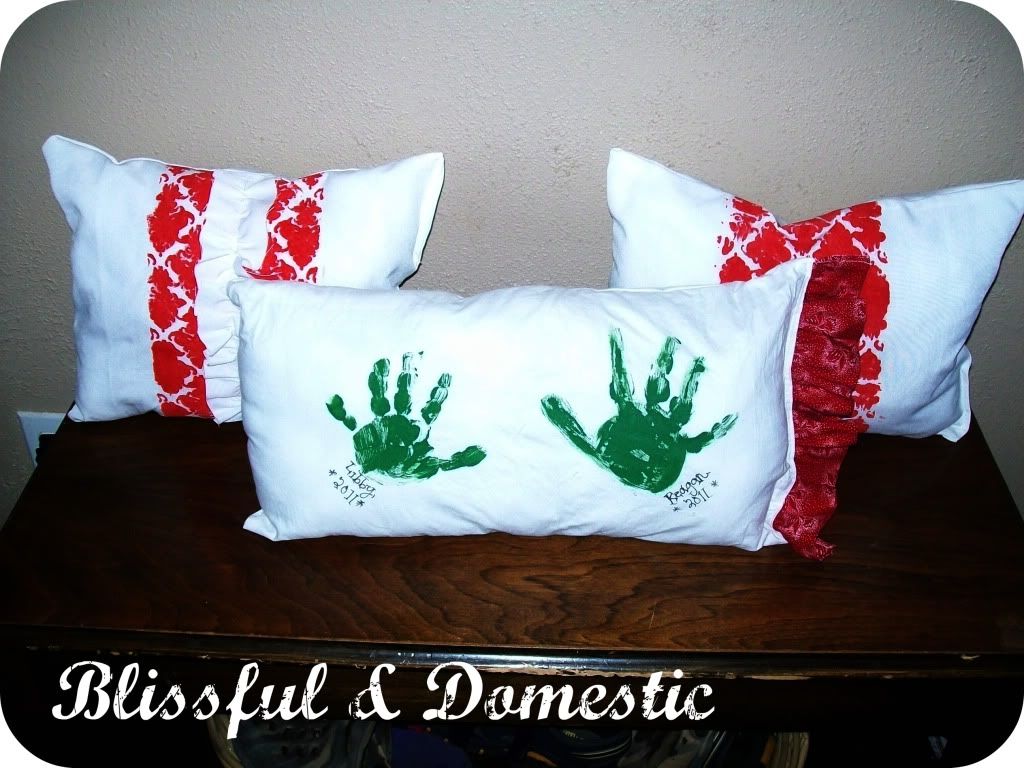
Today I am sharing a simple pillow how to. As I mentioned before, we just moved into our home a month or so ago. Because of this, we are in need of some cuteness. I found a piano bench at a thrift store, but it looked bare all by its lonesome. I decided to add some pillow flare to help give it some character.
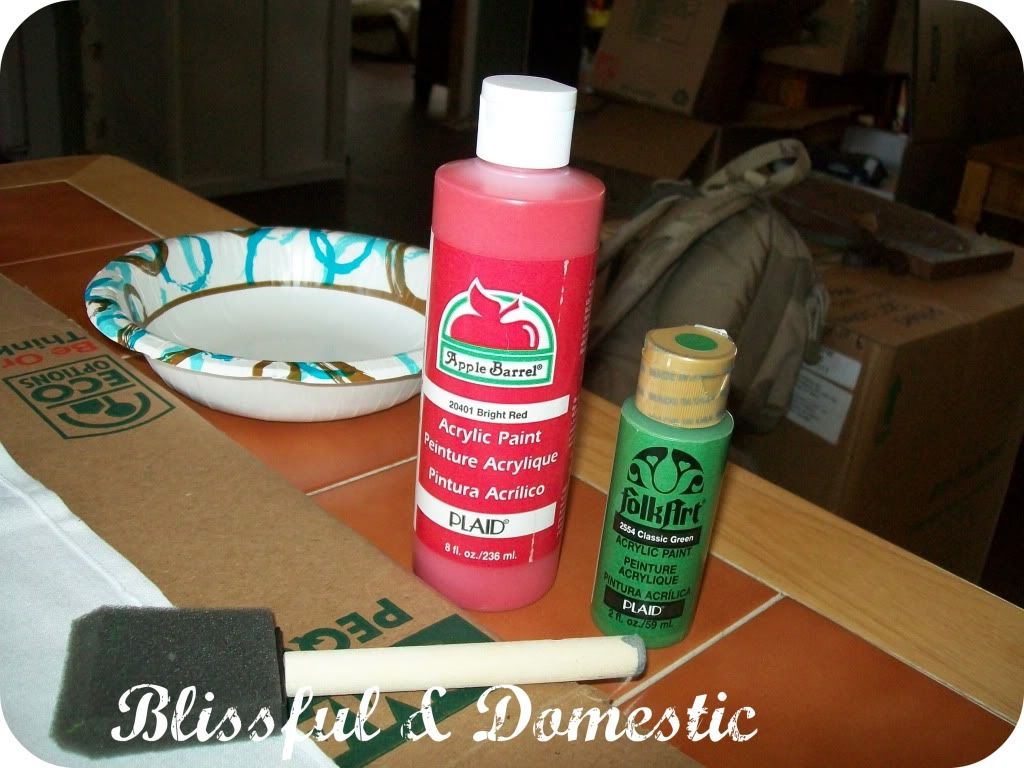
Here is what you need:
Just some acrylic paints, brushes, and a few scraps of fabrics.
My pillows are 13 1/2 x 11 inches
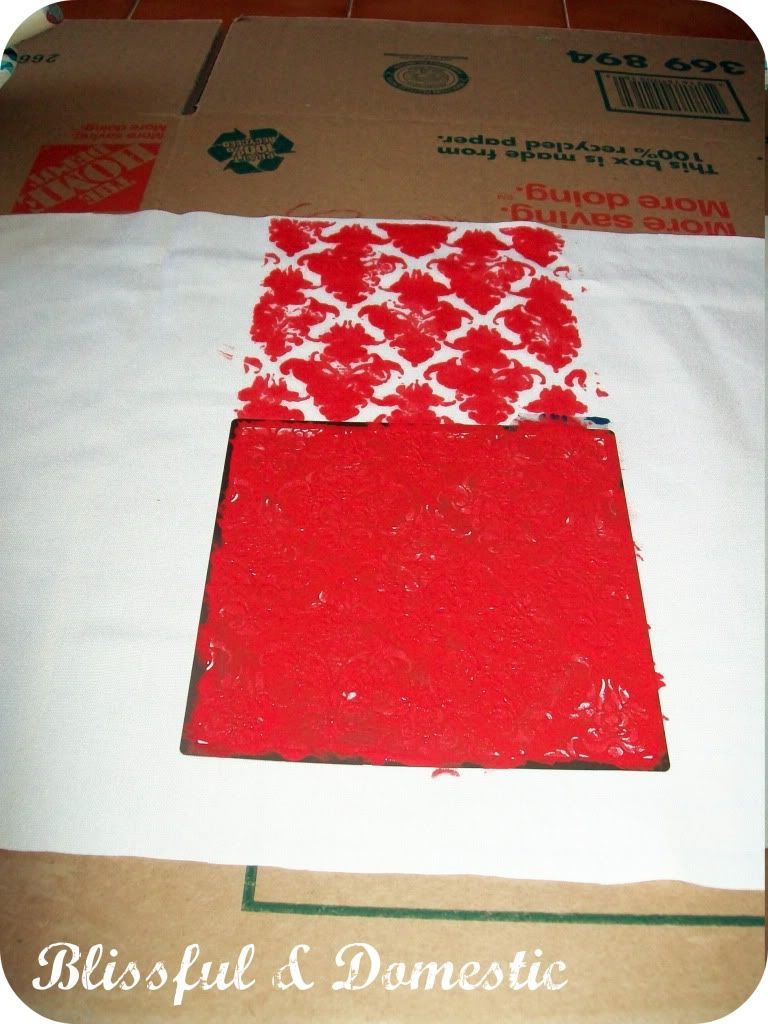
I also used a stencil I purchased off off Ebay.
You could use freezer paper as a stencil also.
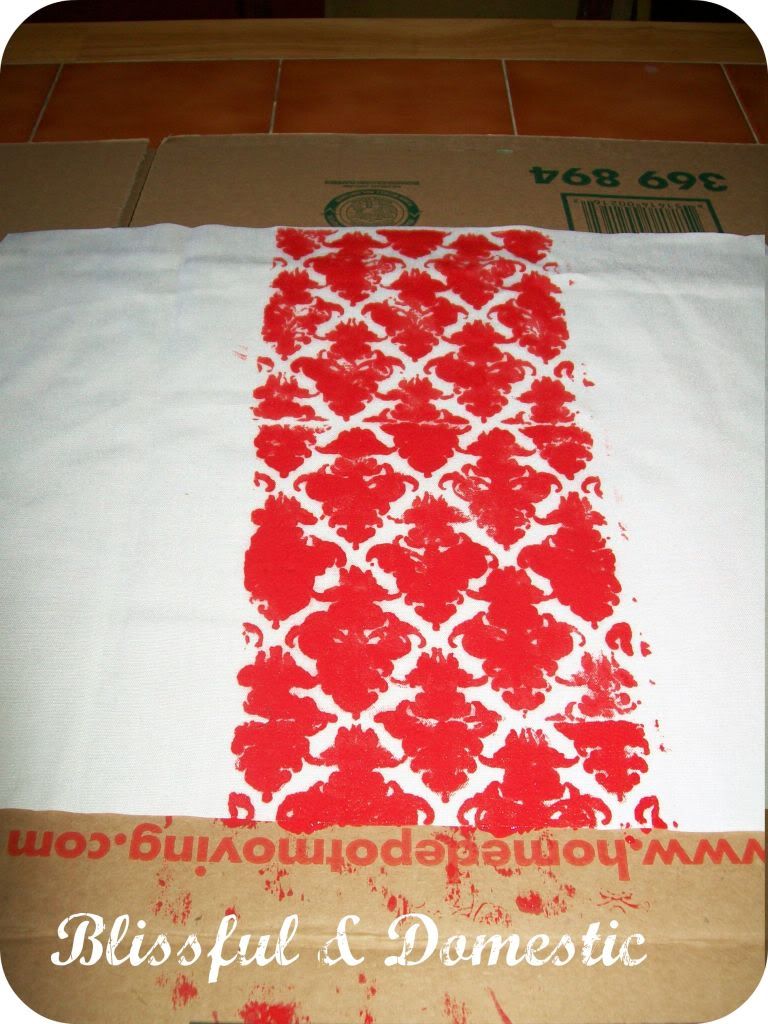
I used cardboard as my workspace, so my table didn't get paint on it. You might want to do the same. Put your stencil down on your fabric and paint. Gently pull off stencil and repeat till you make your desired design. I did a row down the middle.
Let dry.
Once your front piece is dry, put it right sides together and sew around the edges, leaving a 2 inch gab. This gab is where you will be able to right side it out and stuff with filling.
Once you have right sided it out, you can start filling it. I didn't buy filling I simply used an old pillow that was not in use. It was free and a great way to re-purpose (trust me you will hear this word a lot from me live it, enjoy it:>)
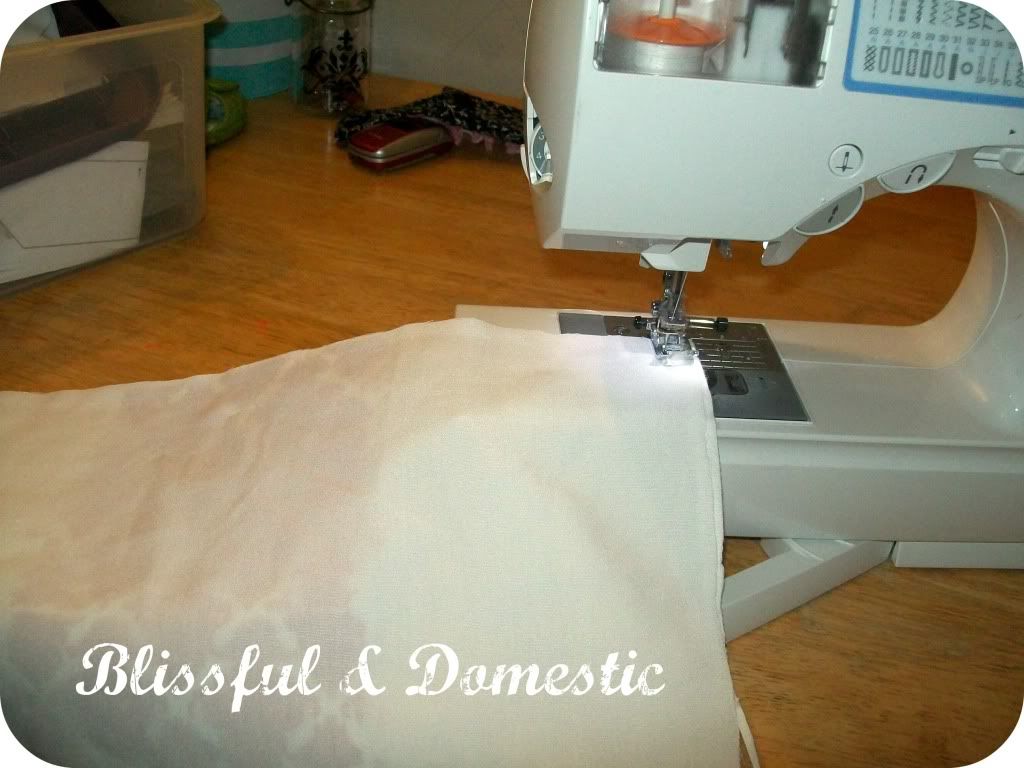
Once filled sew up your gab.
You can do this by hand or with your machine.
I used my machine.
These pillows are great because you really can do so much. You can see below that I even added a ruffle and on another I skipped the stencil altogether and opted for my children's hand prints. The possibilities are endless:>
I hope you enjoyed this simple tute and I hope it gets you crafting. I look forward to getting to know you all. Have a wodnerful Fourth of July and Thank a veteran while you are out and about today. I know they'd appreciate it.
Happy Monday!


Jill I still can't believe I am on your blog now. so fun and so thankful:>
ReplyDeleteLove your sweet intro and the green hands are the cutest!
ReplyDeleteYay, I'm so excited to see what you share here on WWDOIA! Very cute pillows. I love the handprints too, so sweet!
ReplyDeleteDanielle, I just noticed, the link to your site must have been typed in wrong. I'll see if I can go fix it.
ReplyDeleteok, fixed it :)
ReplyDeleteVery cute! I'm off to check out your blog.
ReplyDeleteThanks for fixing it I must have been having a blonde moment when typing it in:>
ReplyDelete