Happy Monday Lovelies.
I have another Girly project to share today.
I have been on a sewing kick for Miss Priss.
I just can't stop making stuff for my cute little red head.
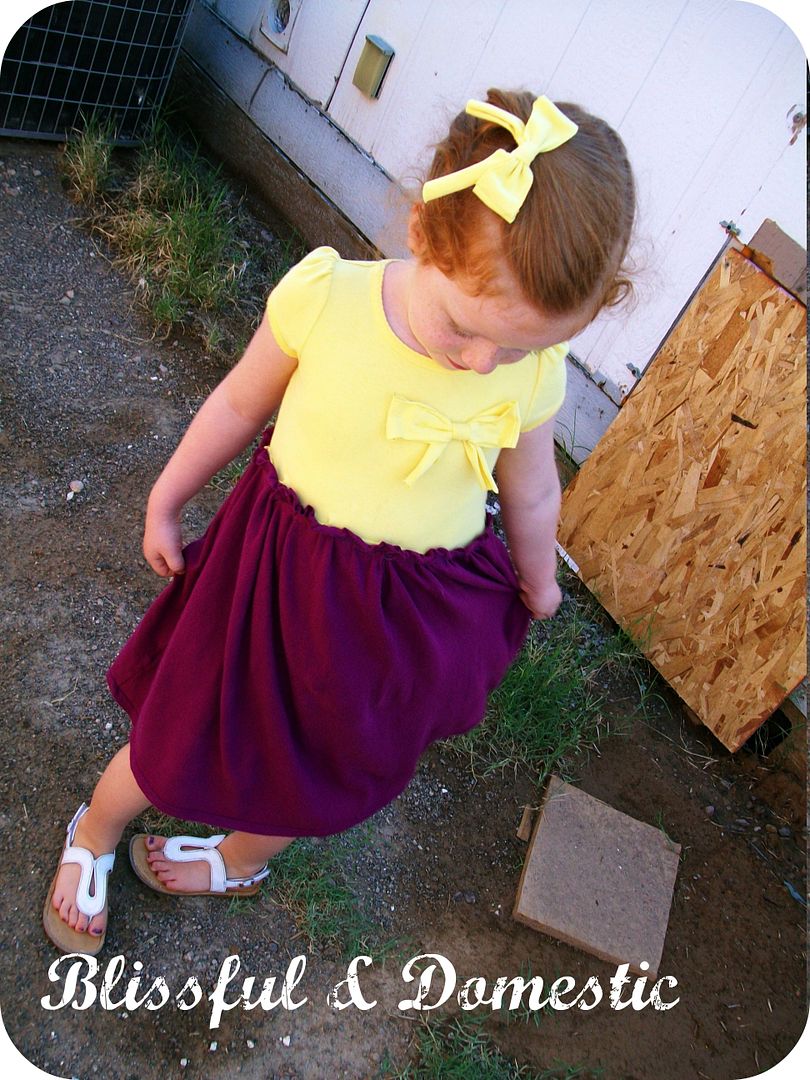
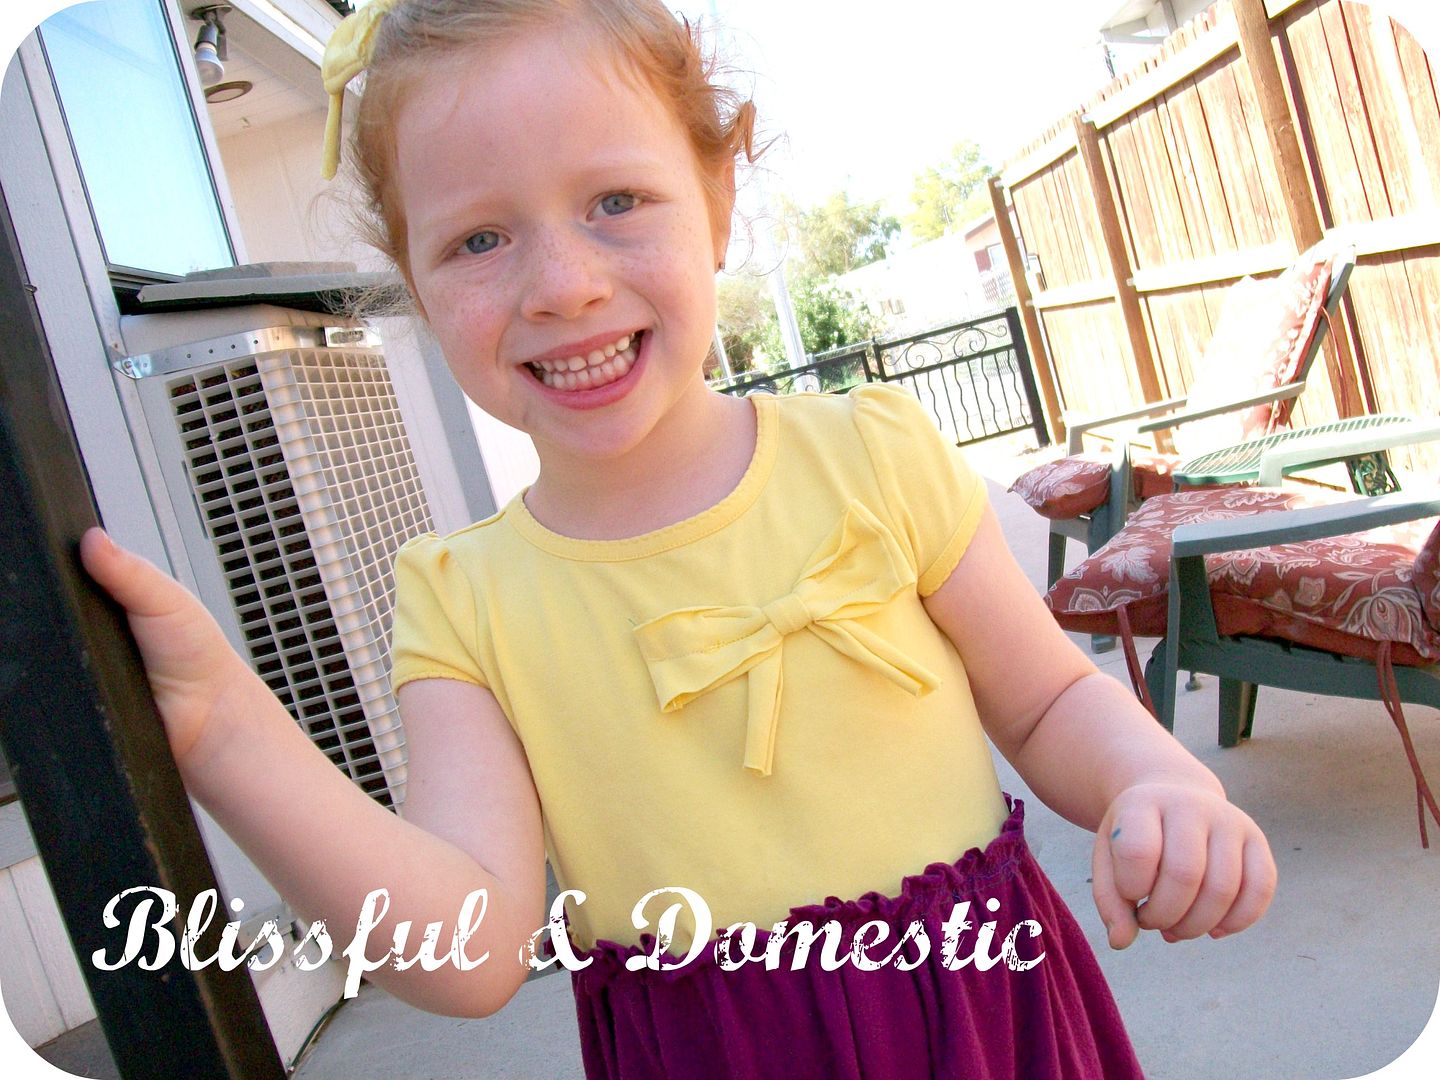
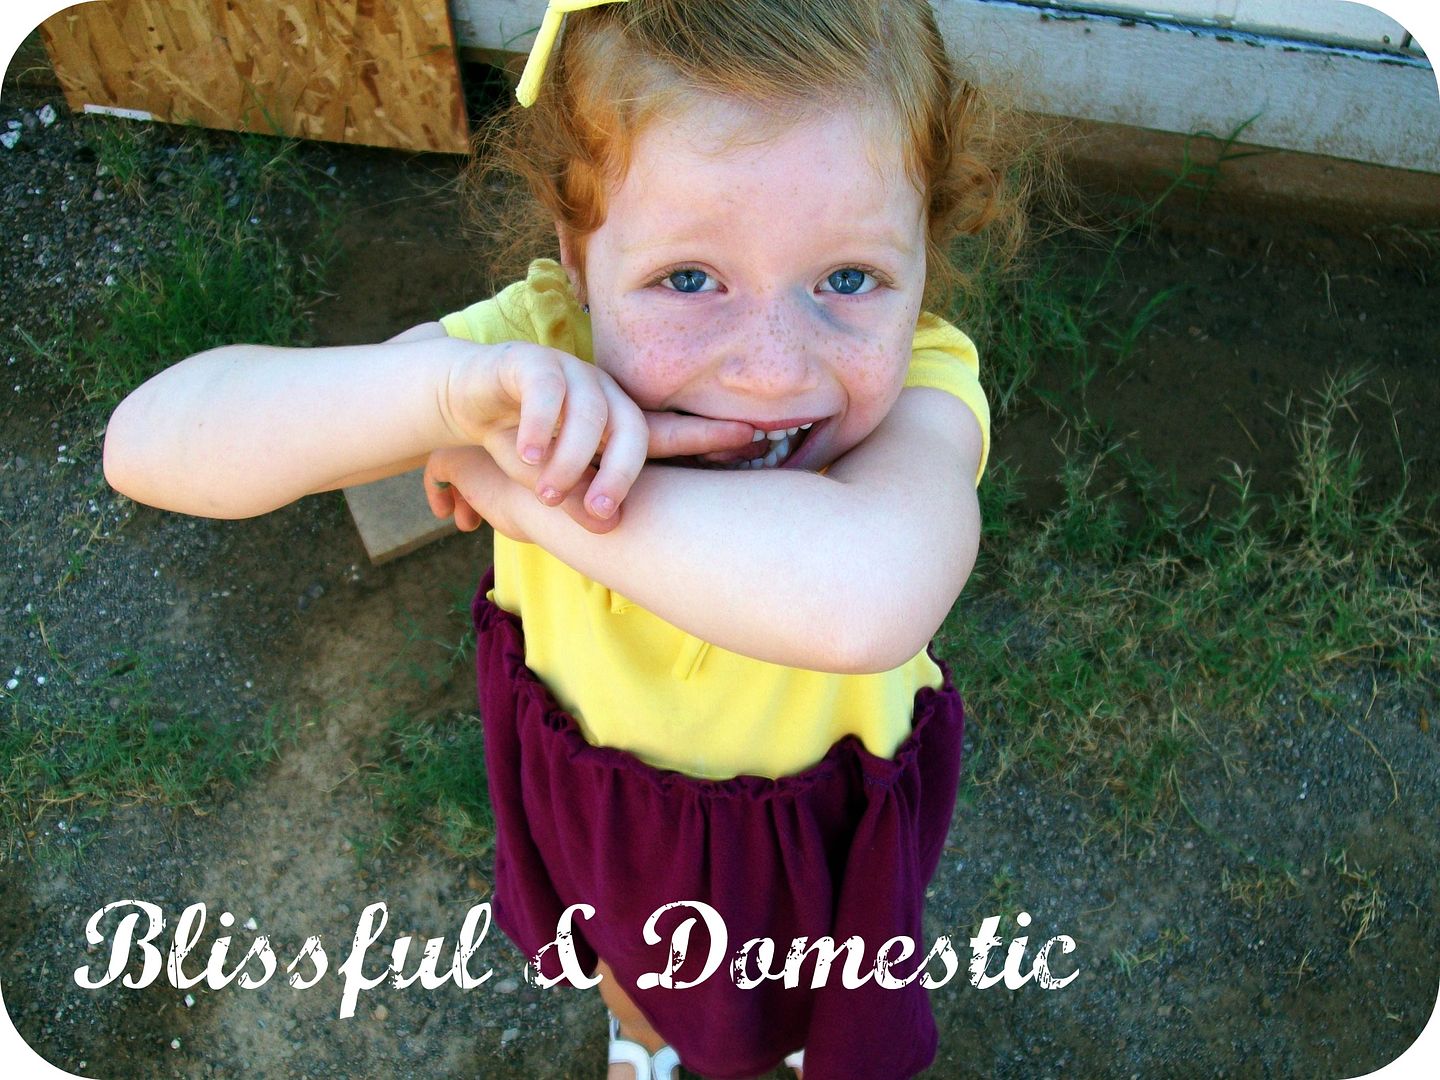
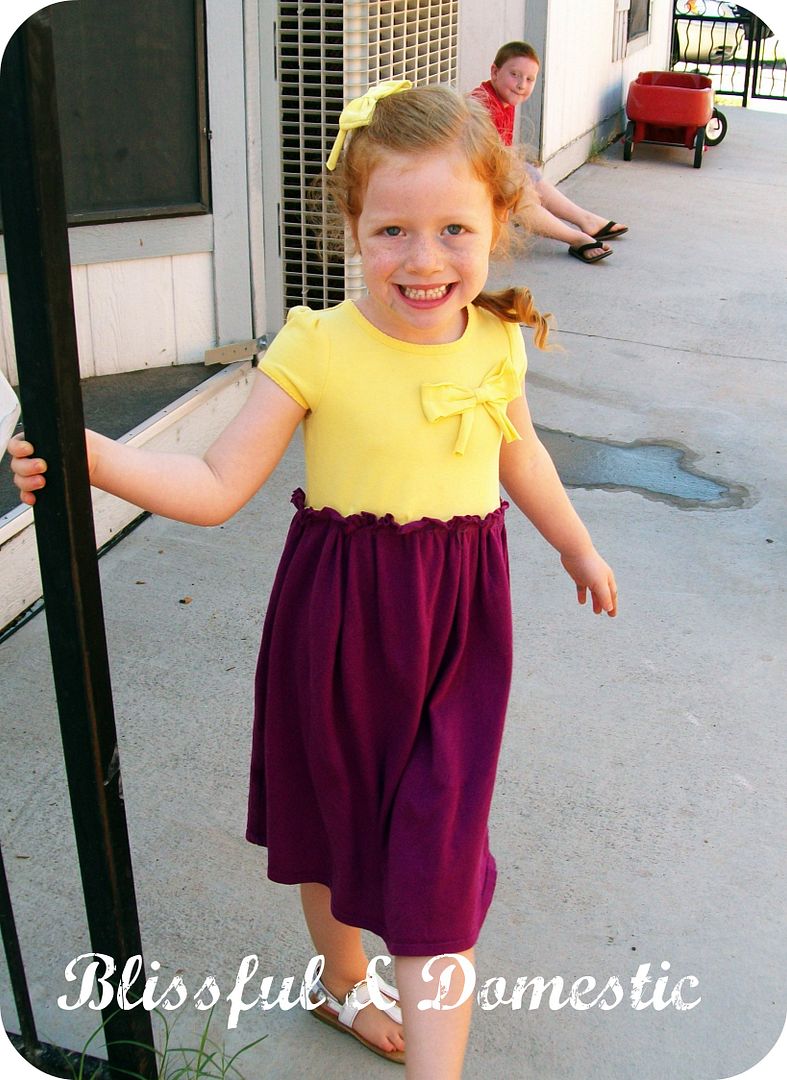
enter in my cute redhead,
modelling The Mini Bow Dress
Want to make a Mini bow dress for your Little Miss?
Here is how you make it...
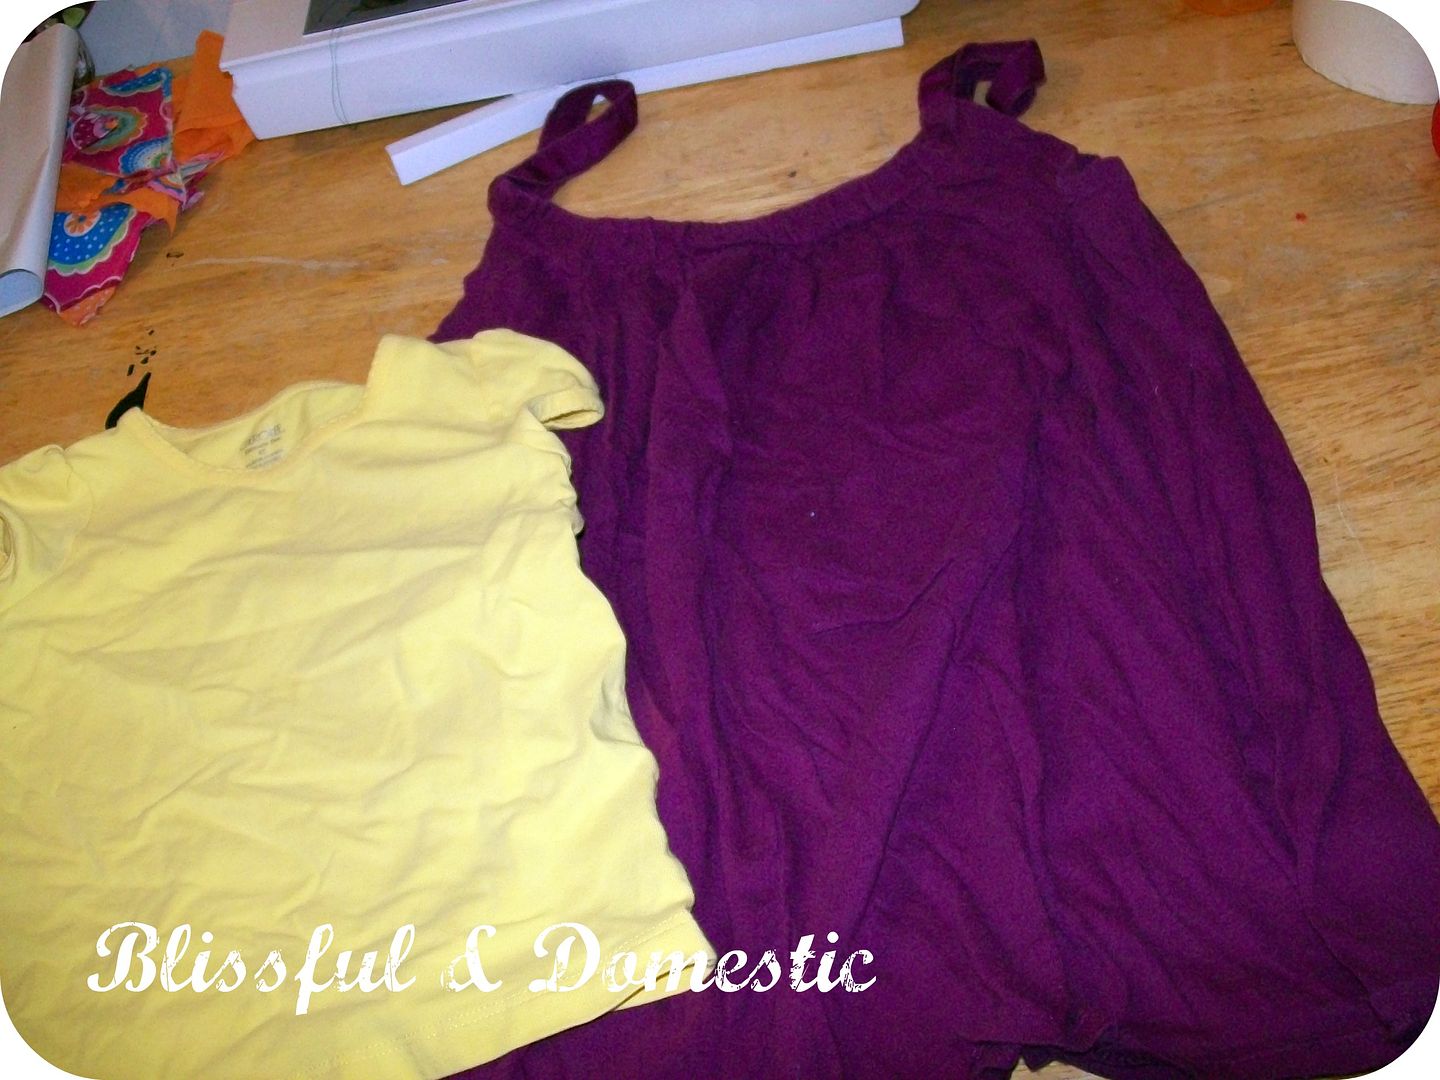
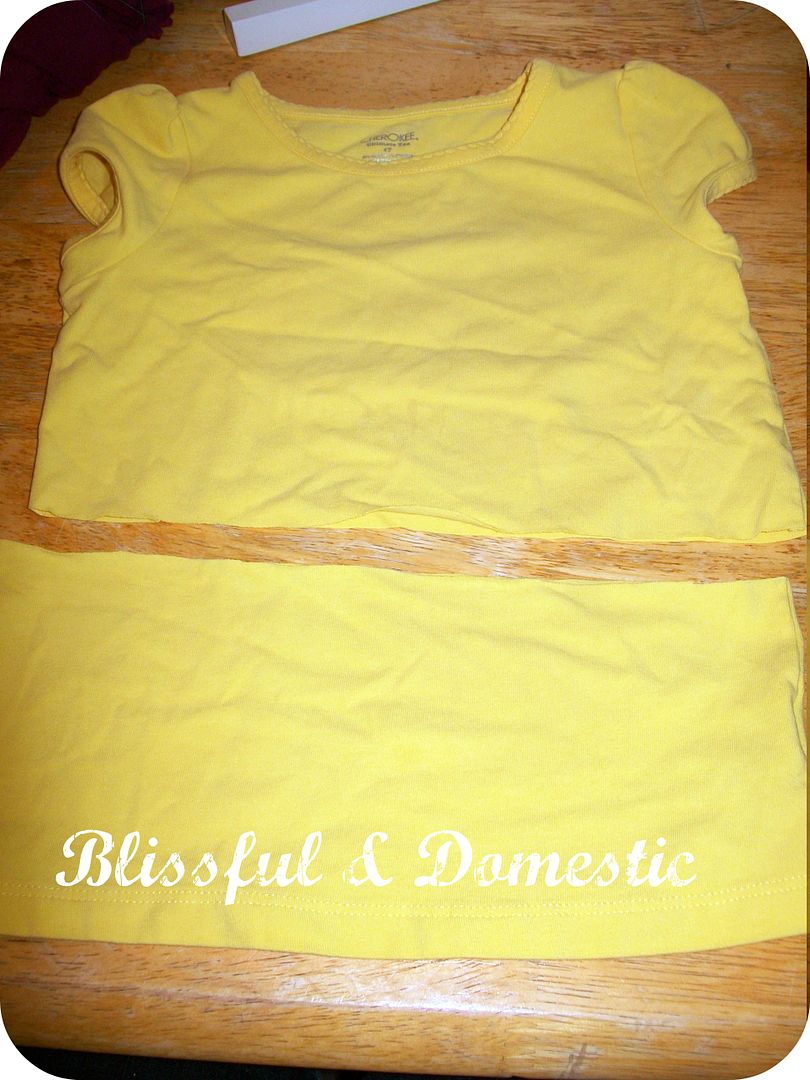
you will need one little girl shirt.
Mine is a 4t
Preferably one that is too short, since you will be cutting the length.
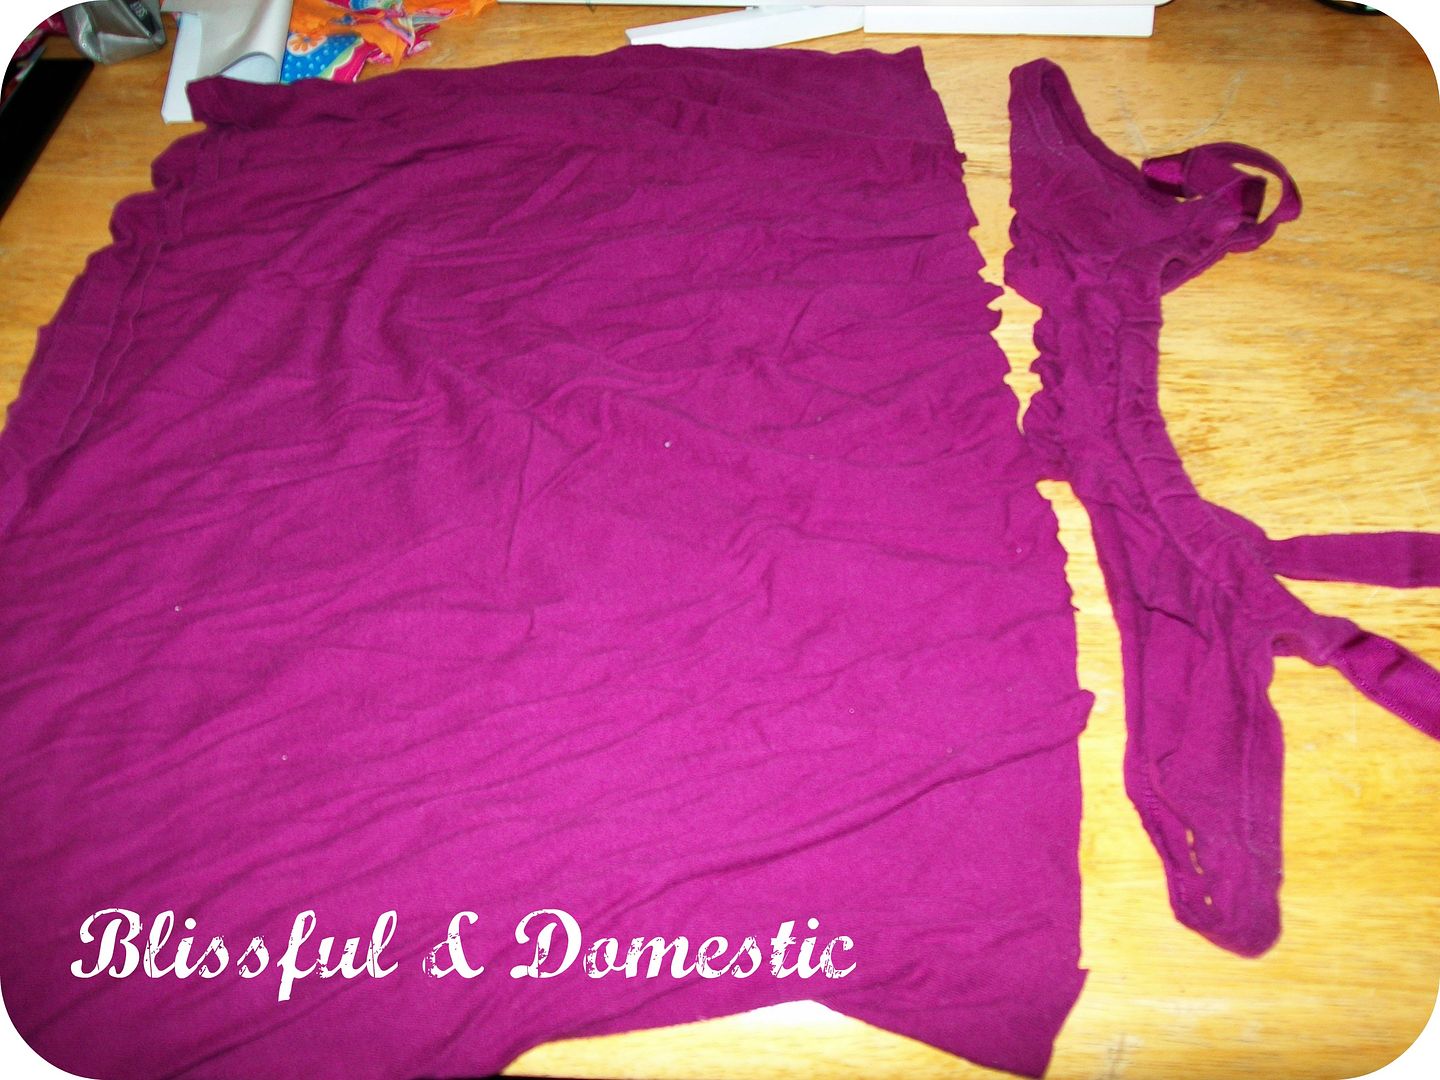
Also you need an adult size tank or shirt.
Cut of the top of the tank, under the arm holes.
Save the top straps, you may use them in another project.
I always do:>
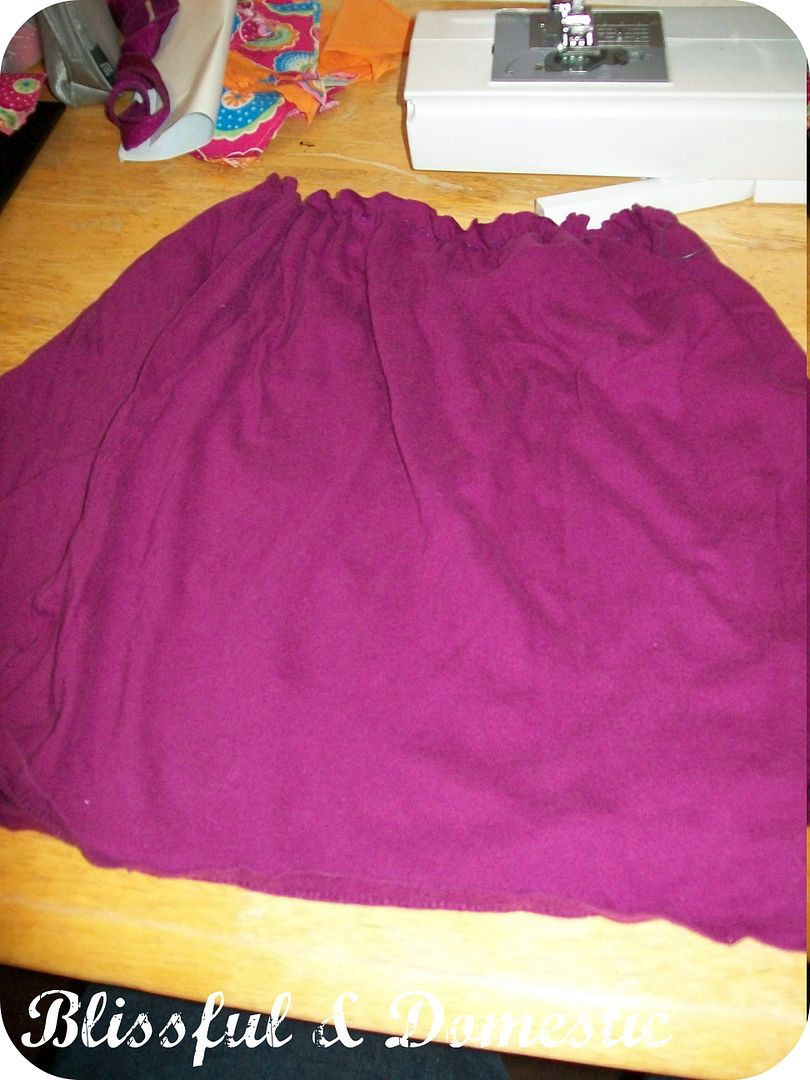
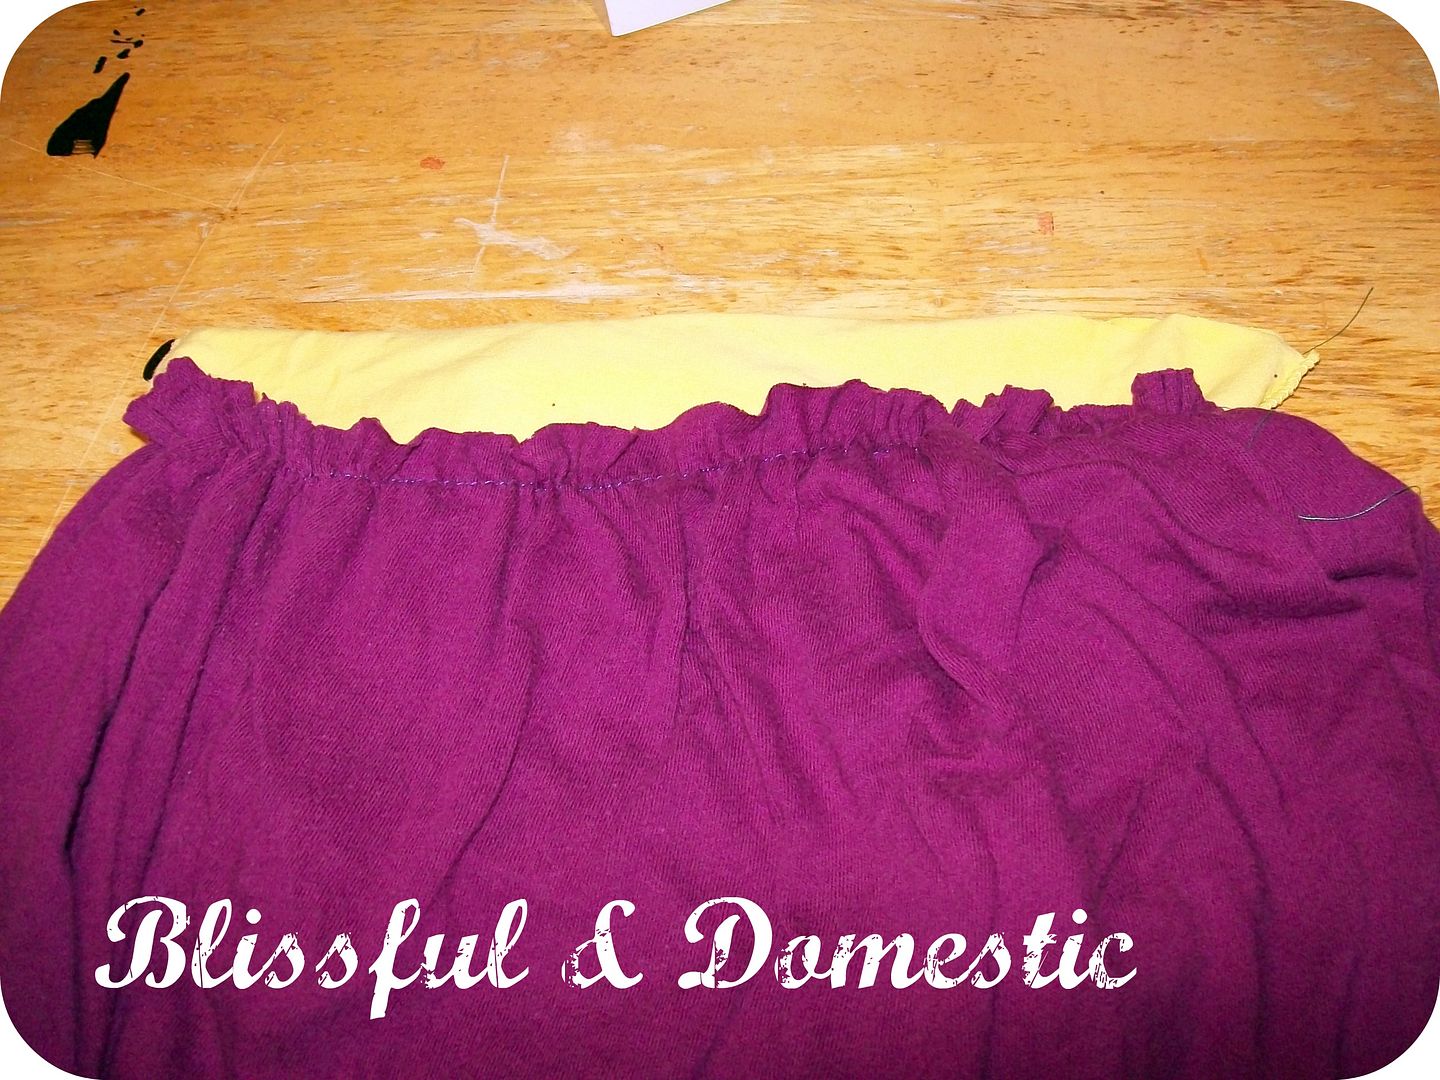
Do a running stitch around the raw edge of your shirt/tank.
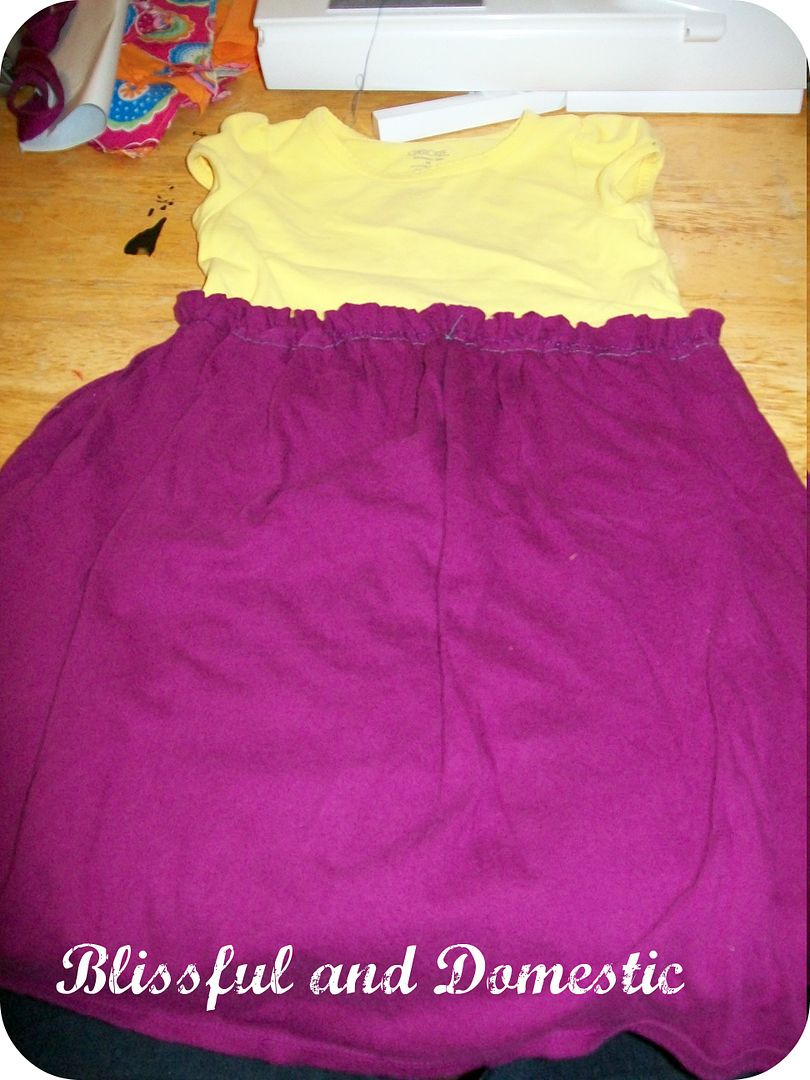
This will become the bottom of your dress.
Set aside.
Take your little girl shirt and cut about 3-4 inches off the bottom
Save your scraps though. You will need them later.
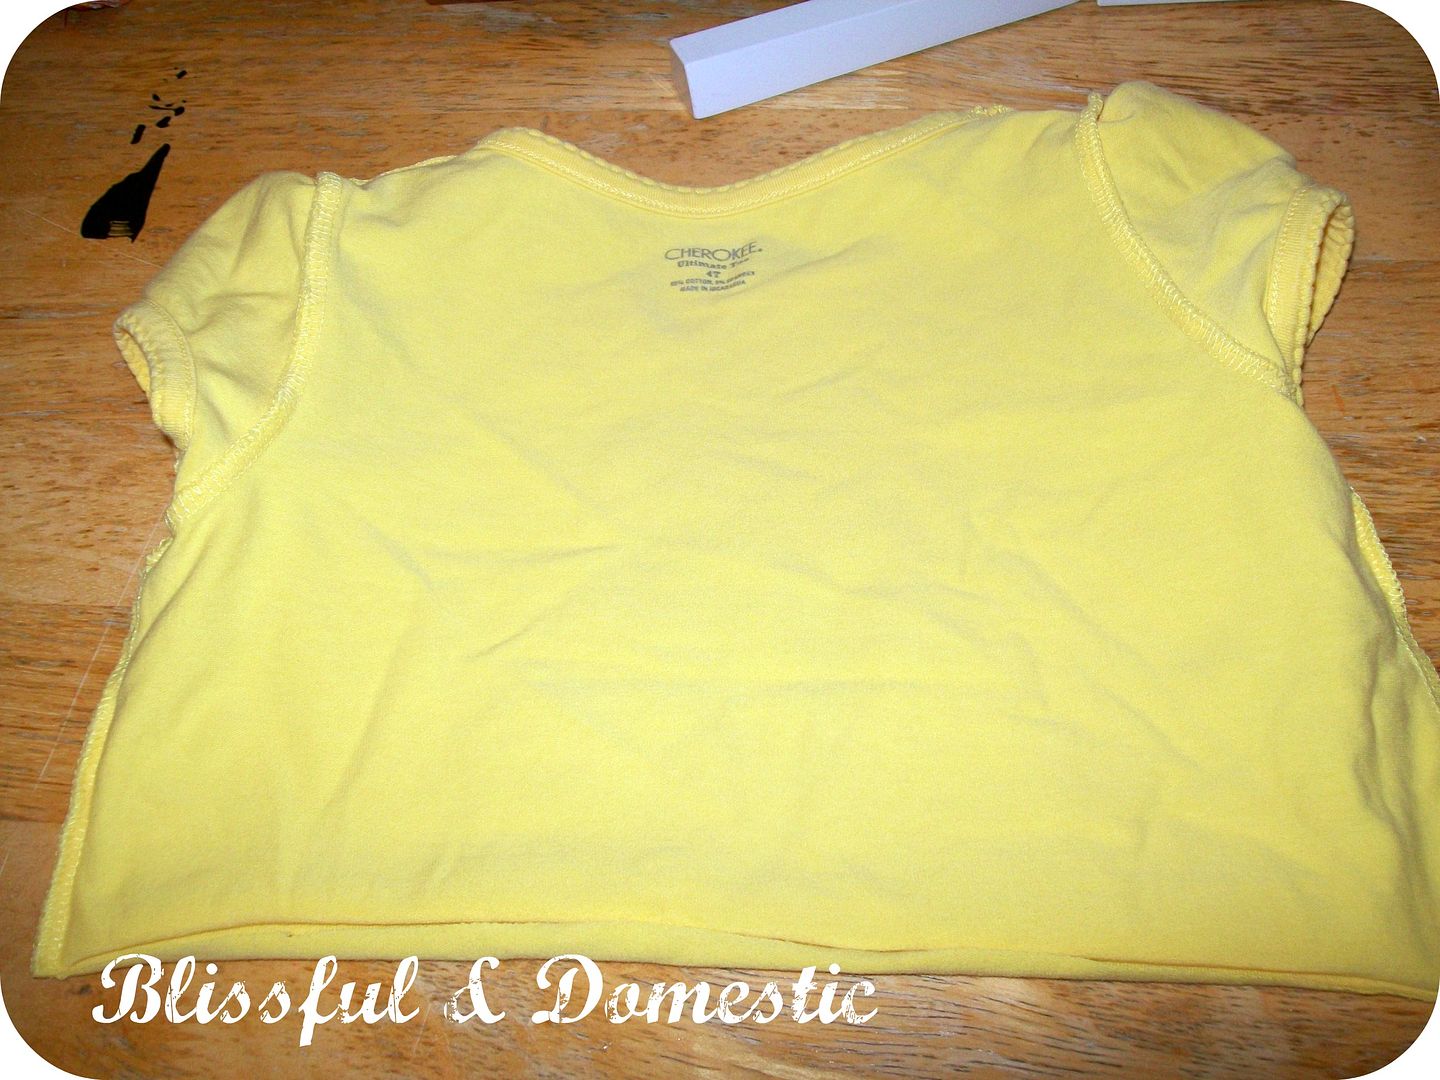
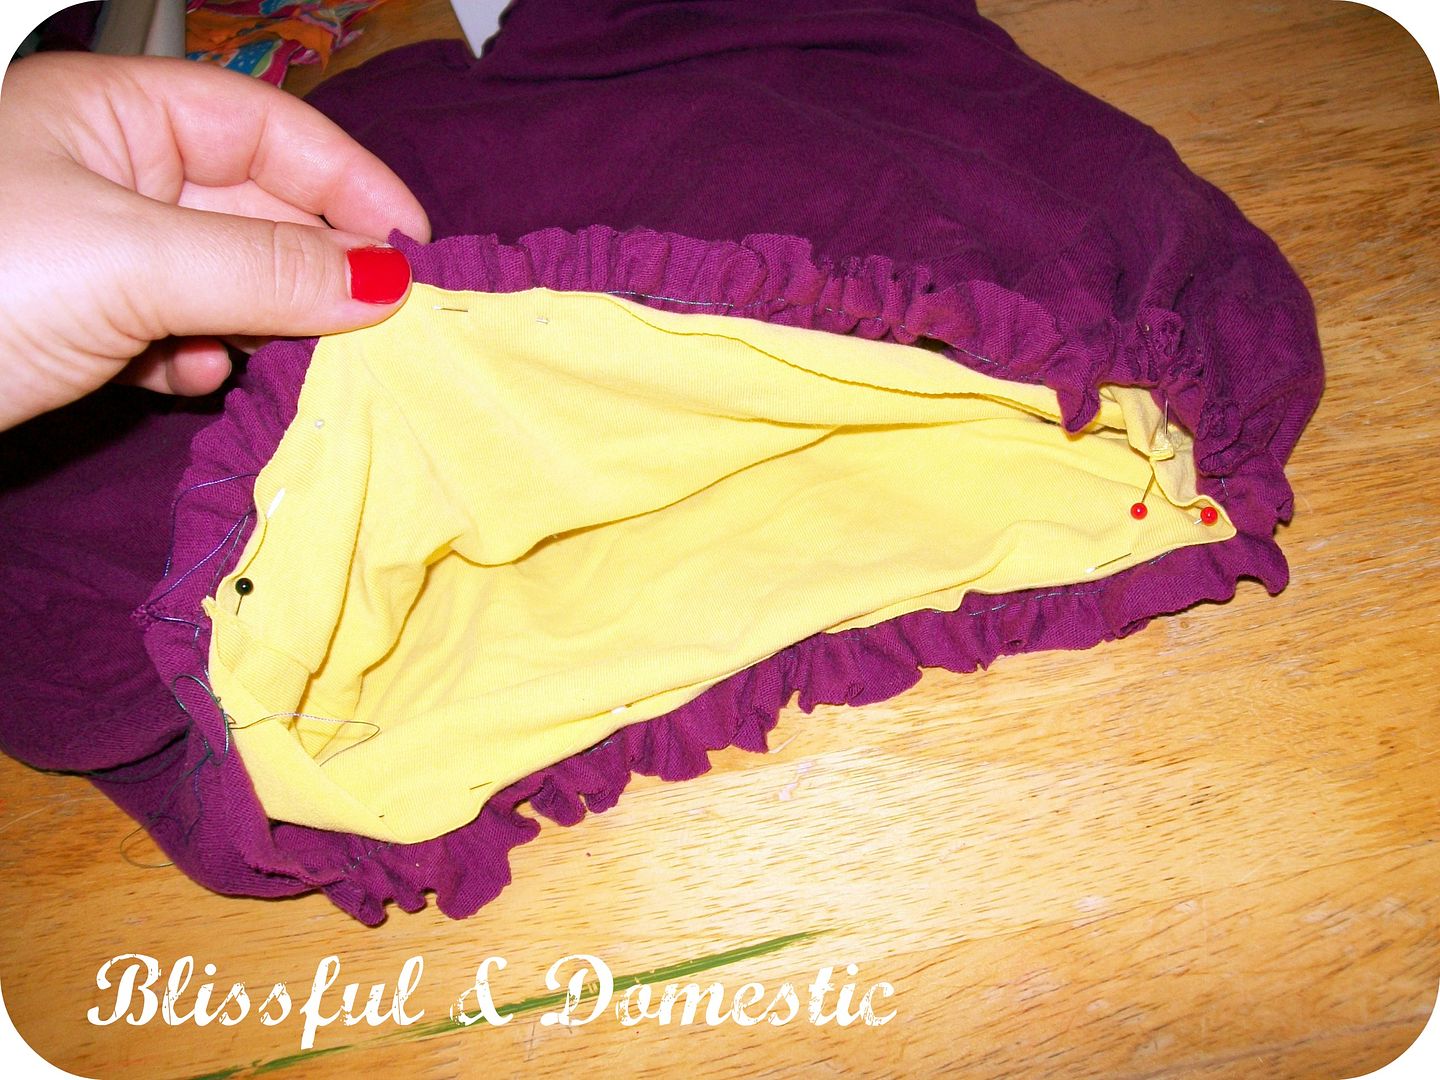
Make it go outside in,
then take it and place it down into your tank.
like this below.
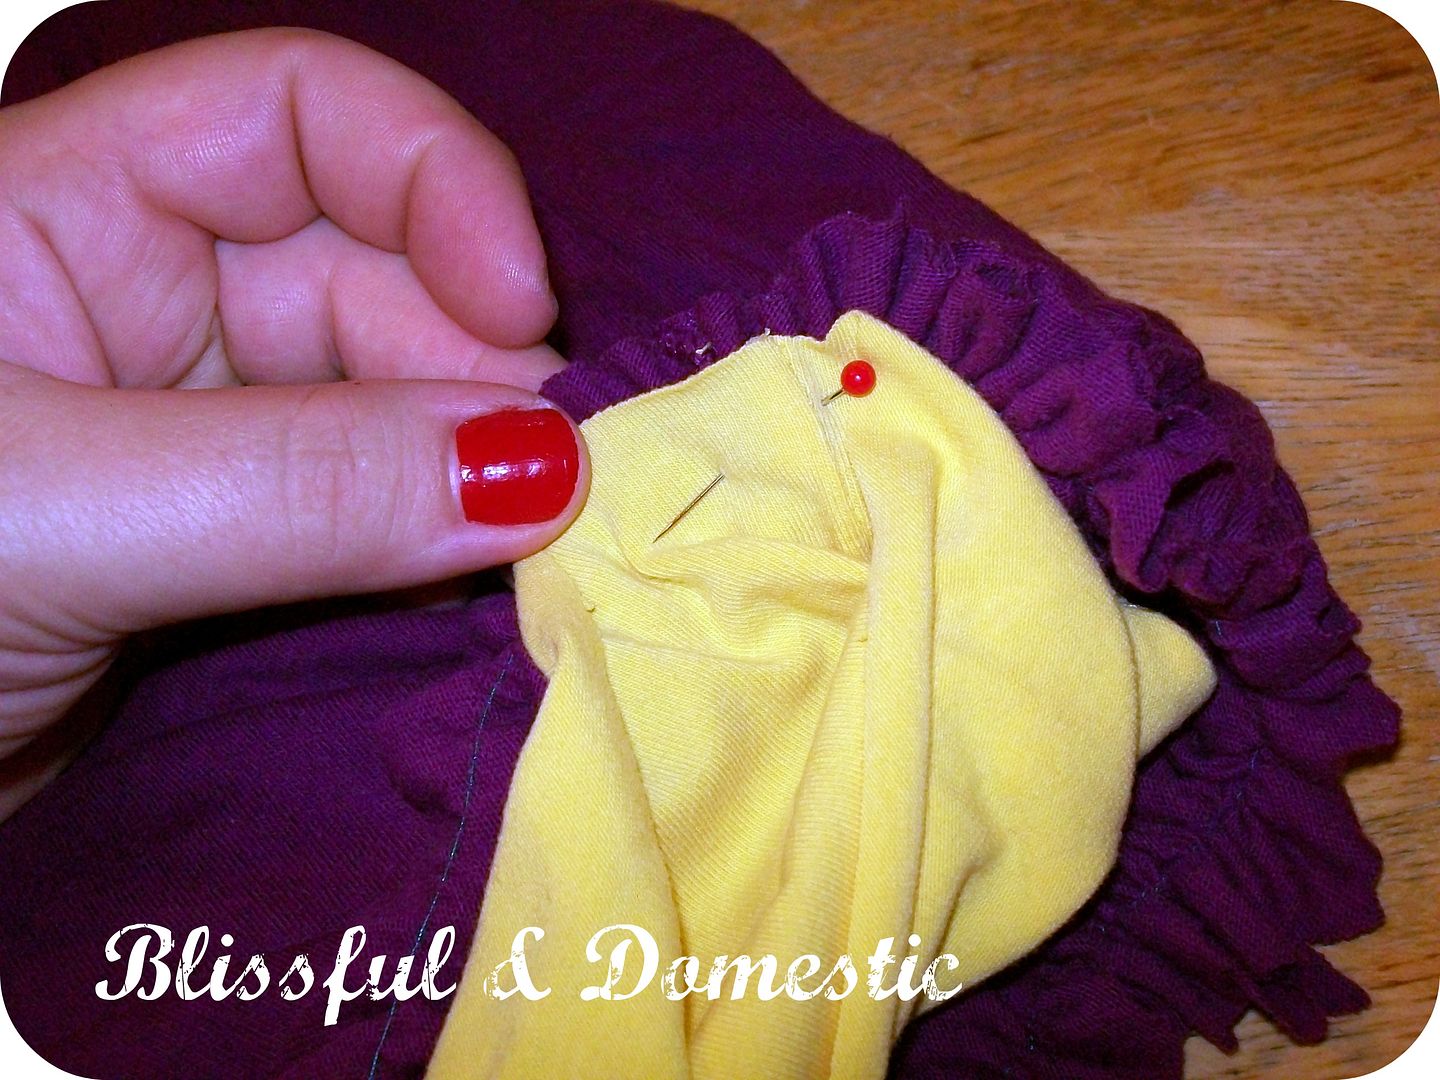
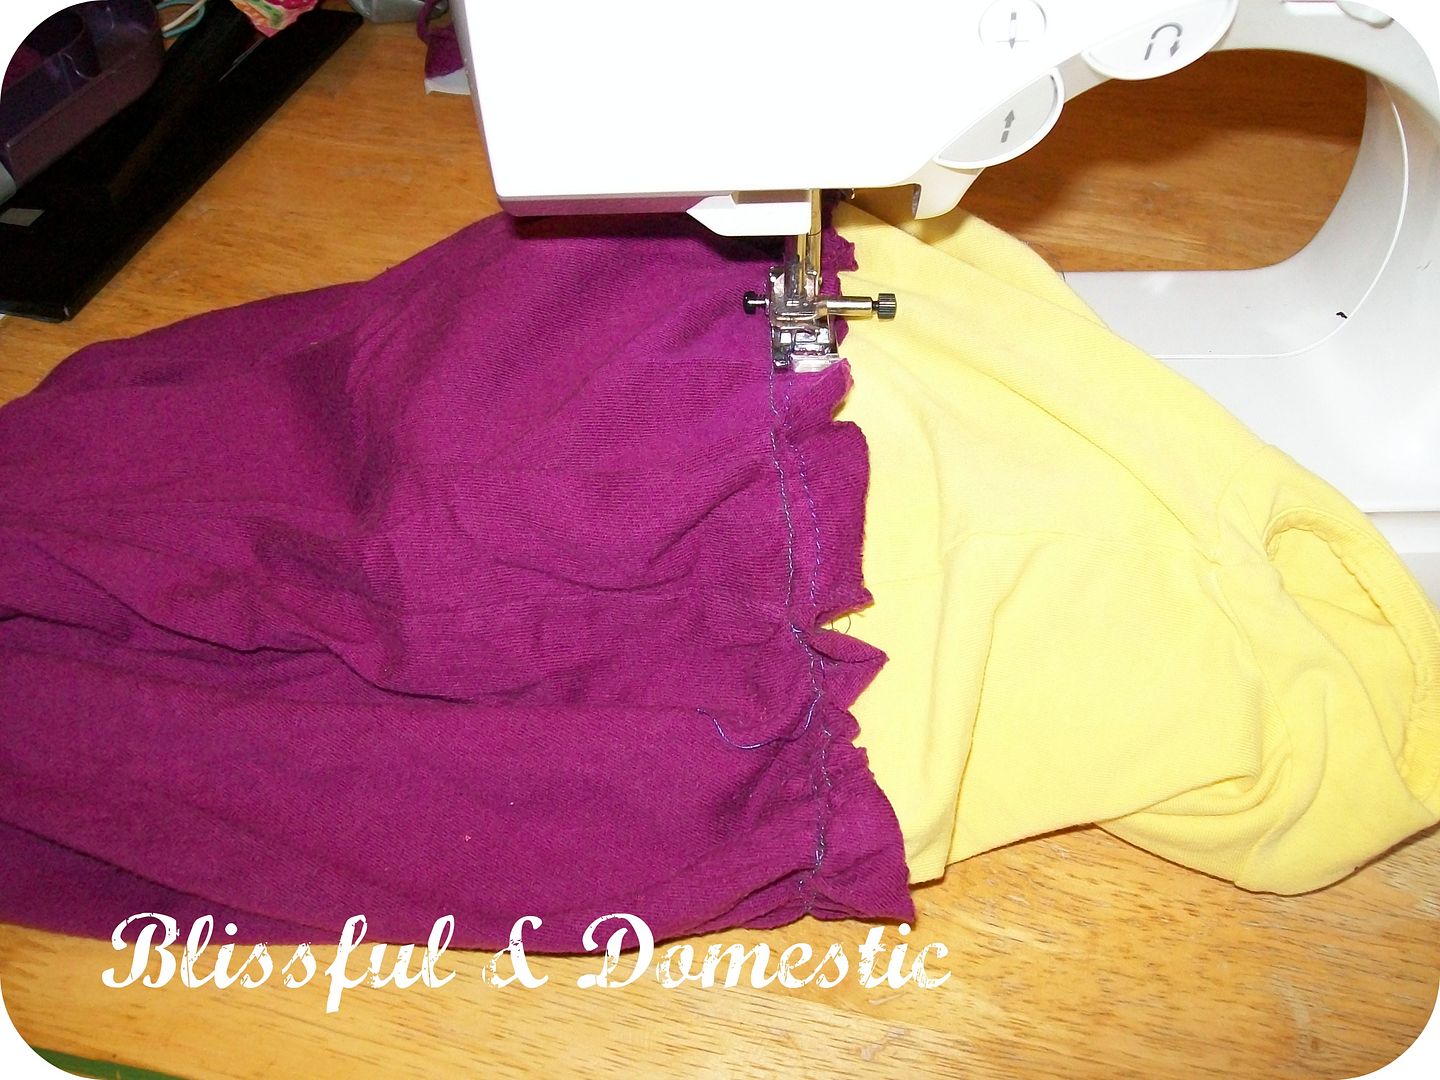
begin pinning the two raw edges together
Go all away around to make it look like this.
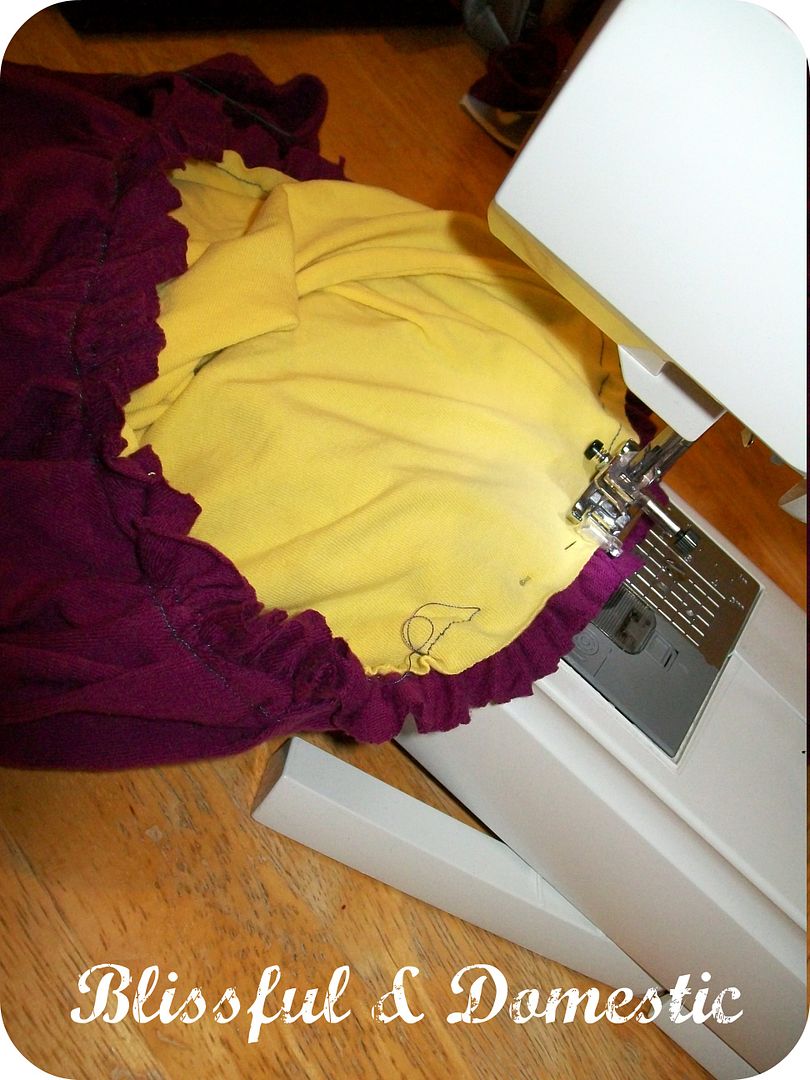
Sew a straight stitch around.
Then pull out your shirt. It will now be right side out and
completely attached to your bottom section
(the purple part)
I like to do a top stitch, just to make sure everything is secured.
Better safe than sorry.
It totally bugs me if my little girl wears it
once and then pulls the seams while playing.
This is why I do a top stitch.
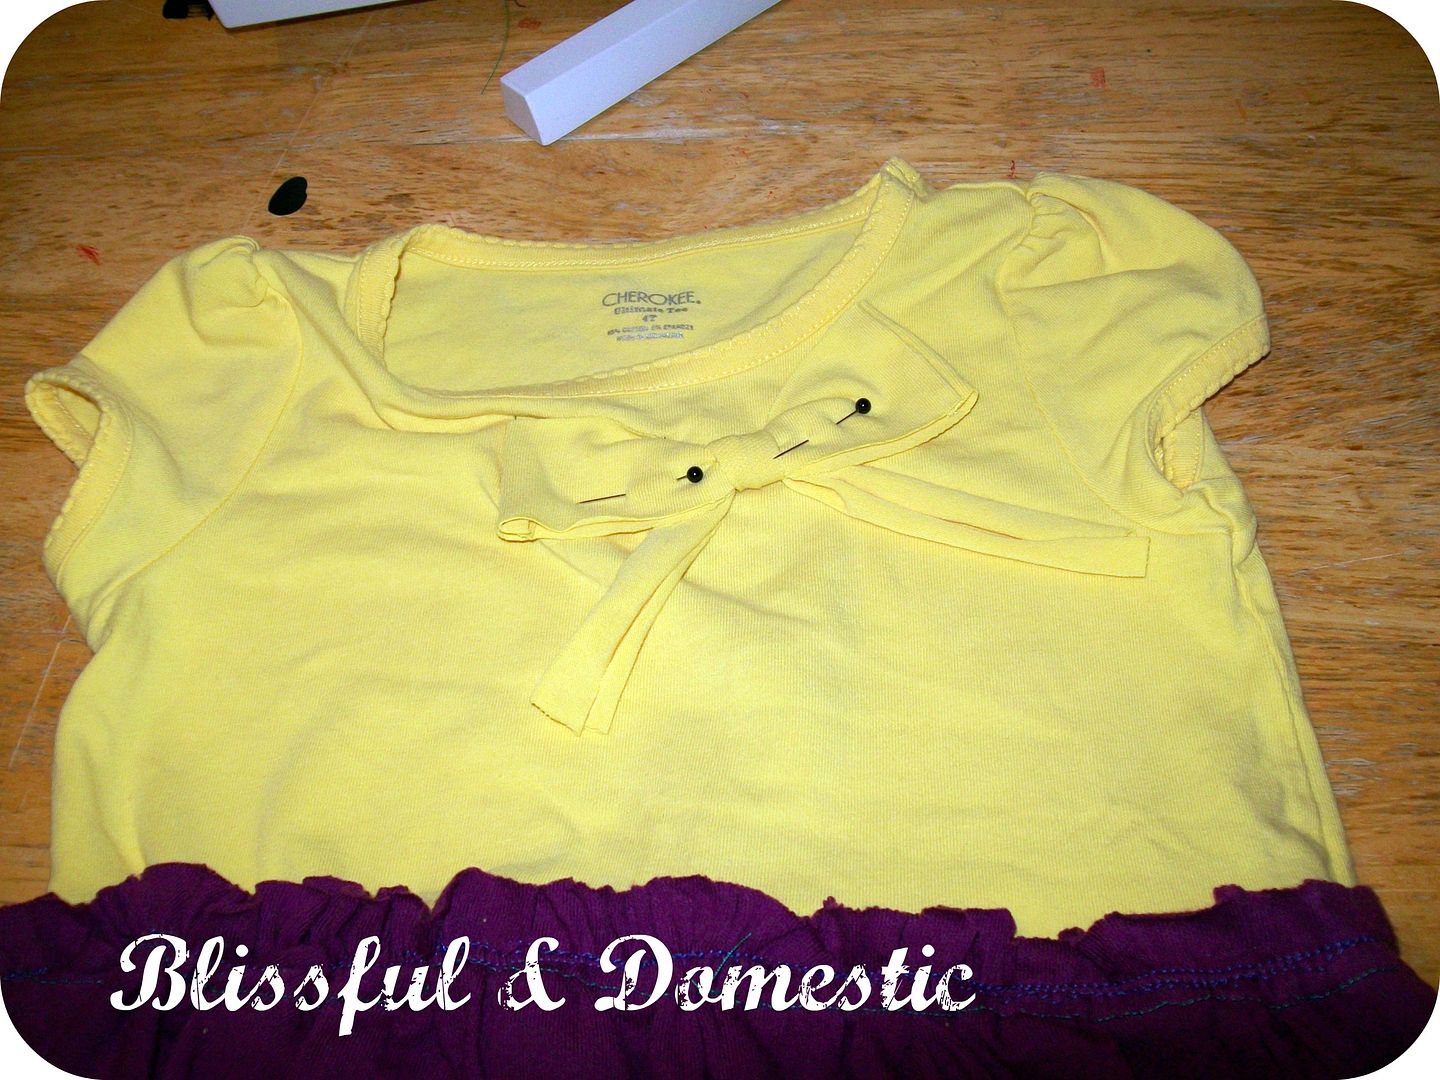
Now you are going to sew on a bow for added cuteness.
This is how you make the bow.
It is crazy how simple it is.
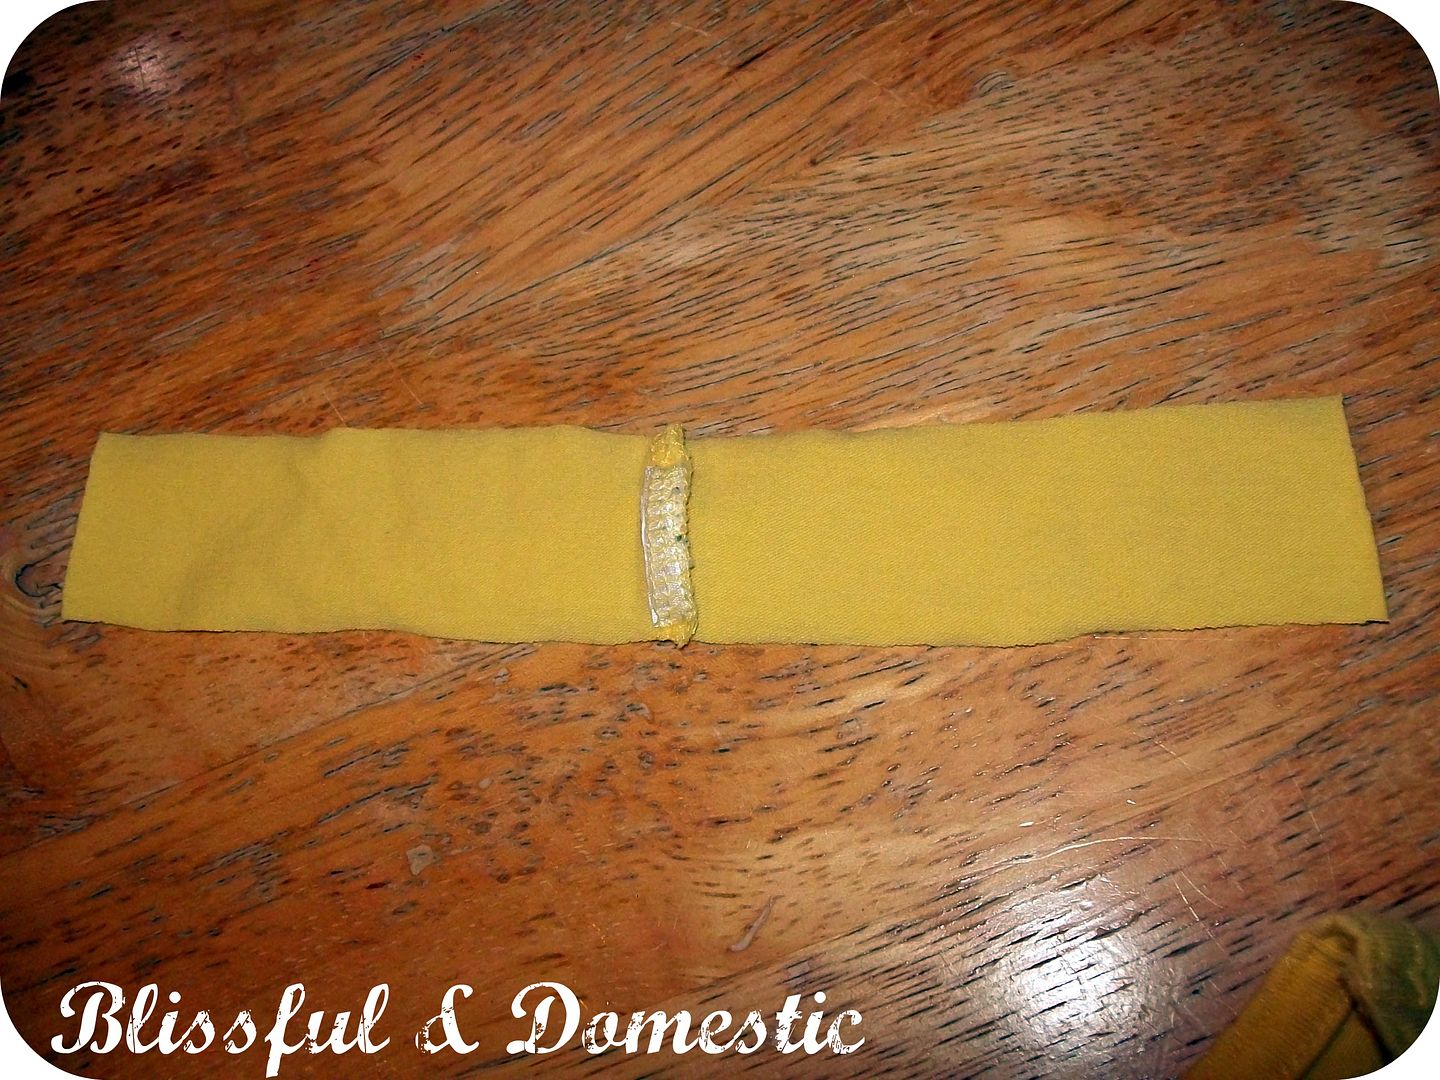
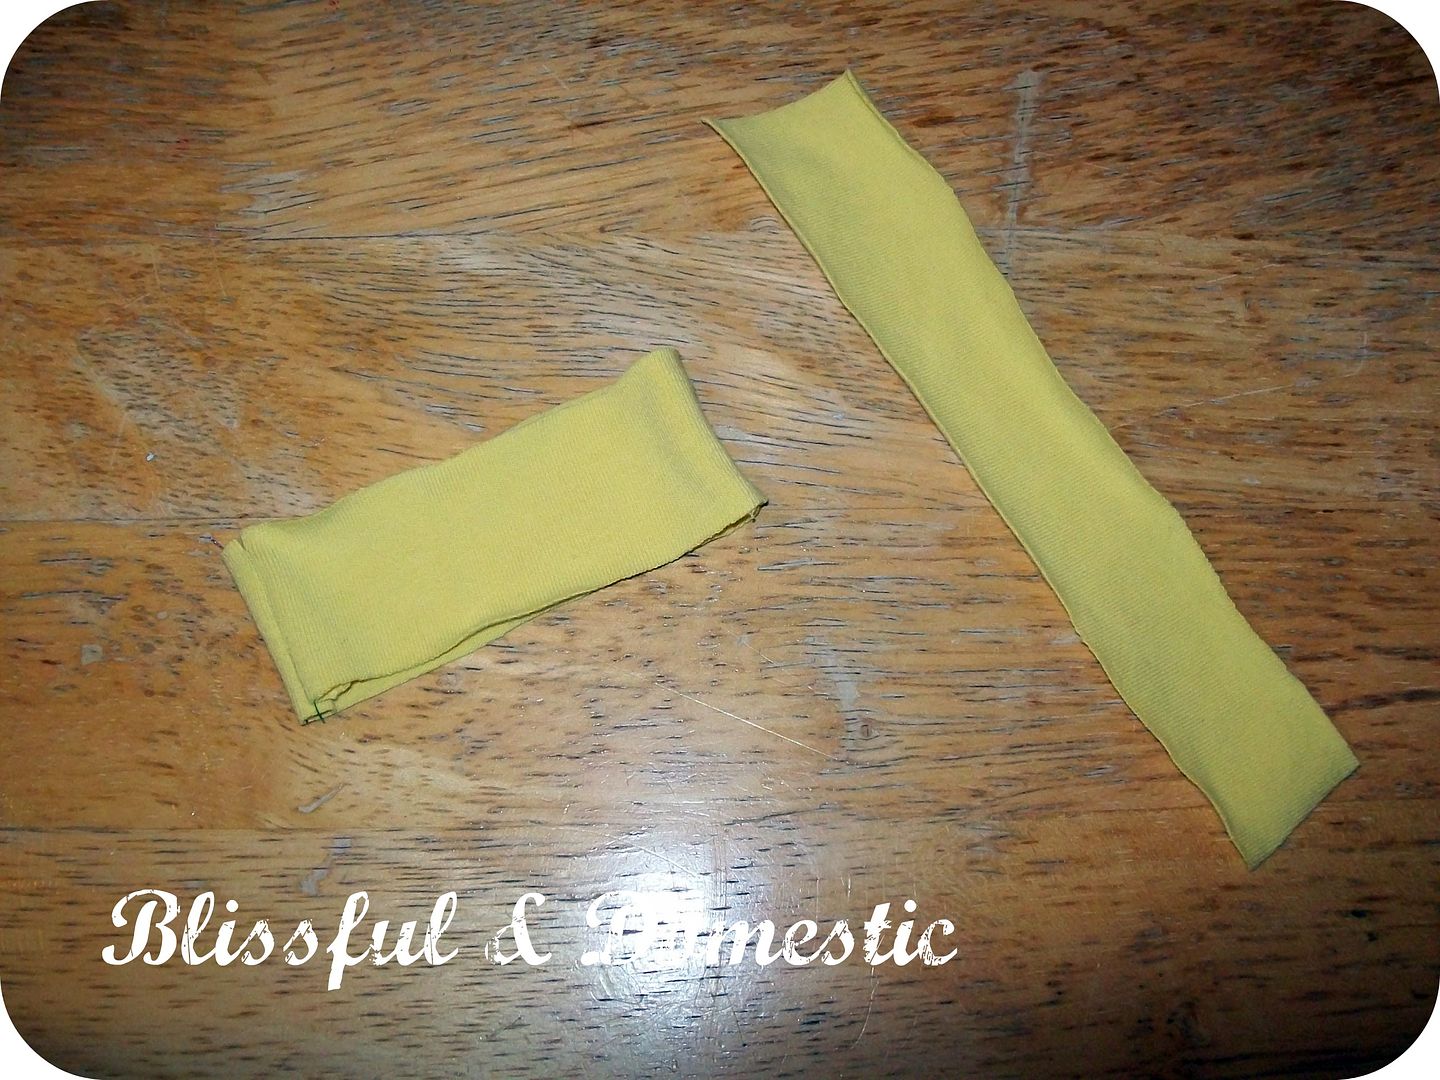
Cut a strip of fabric.
about 3 inches long
(depending on how big you want your bow)
You can tell mine came from the side of the shirt.
The seam is the original side seam from the yellow little shirt.
Now fold it in half
(right sides together)
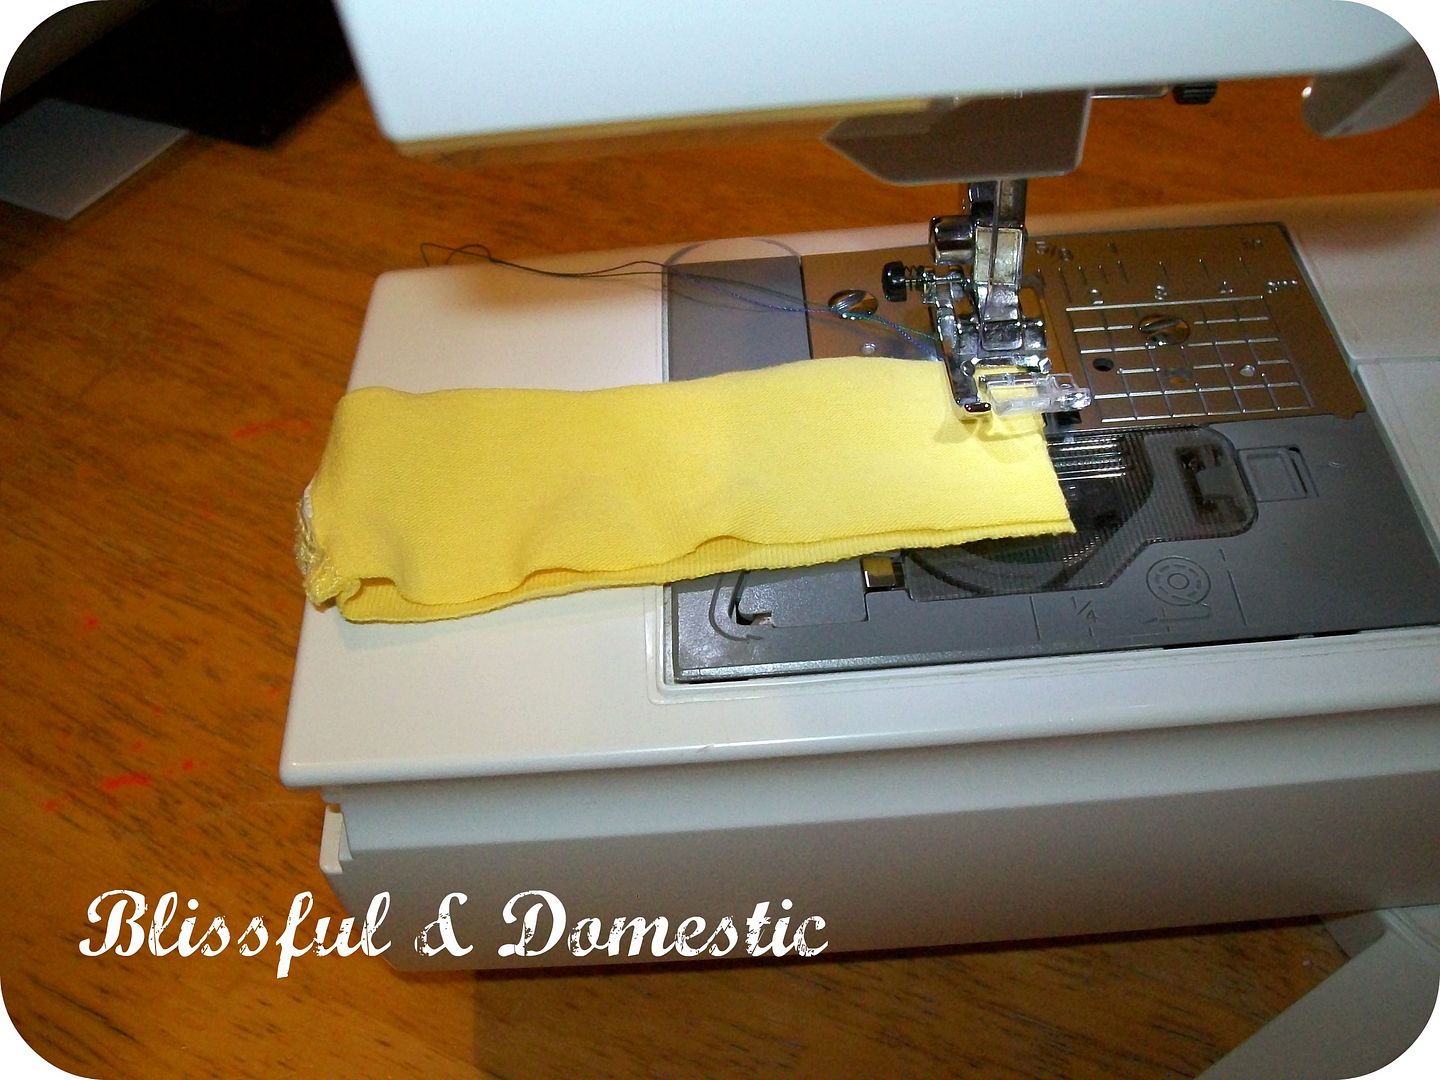
Sew the raw edges together
Cut another strip of fabric
about 2 inches long
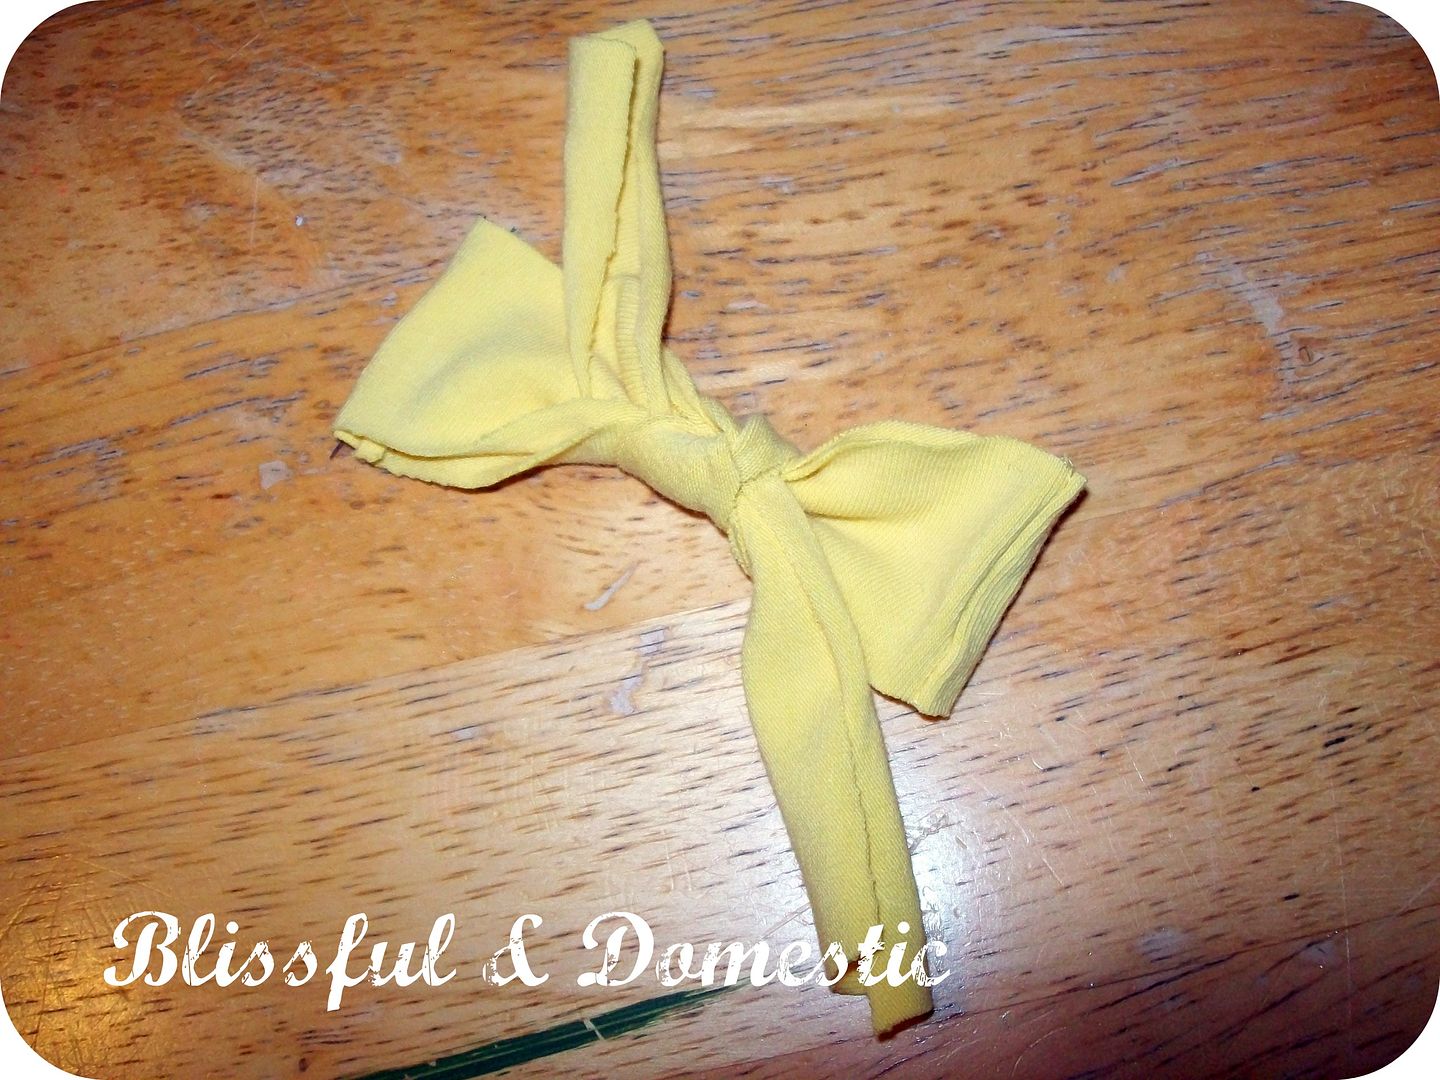
Tie it around your sewed rectangle and make a knot.
This creates a bow.
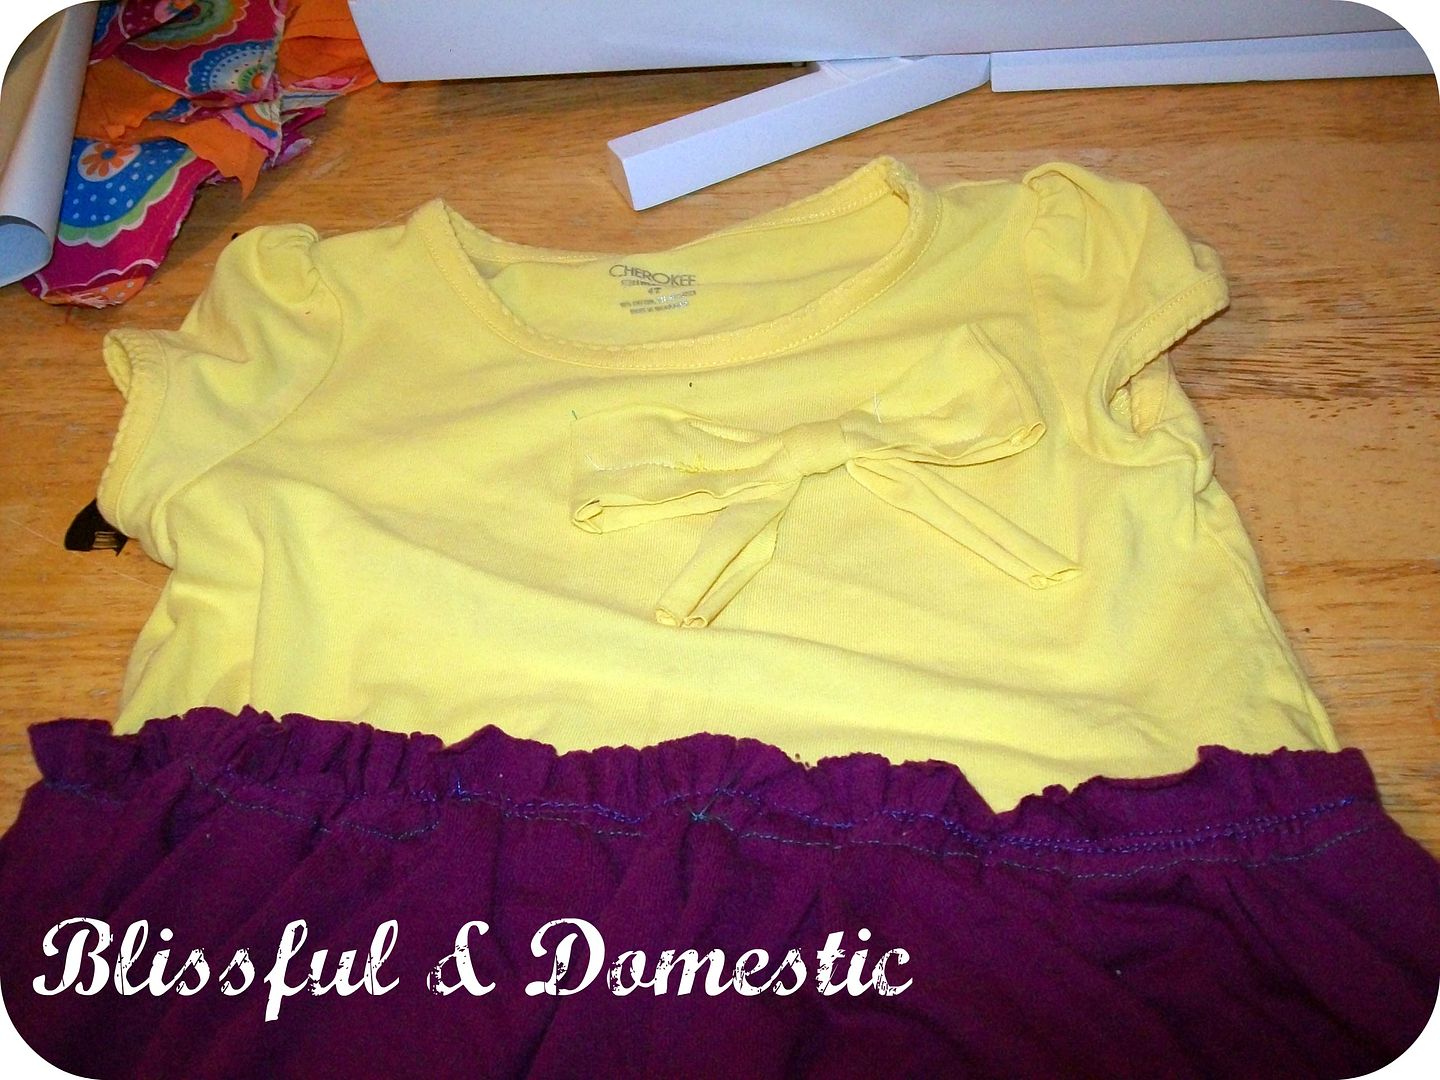
I did a few darts to sew on my bow
that worked perfectly
And then your done.
super easy, super cheap to make,
and super cute on your little girl.
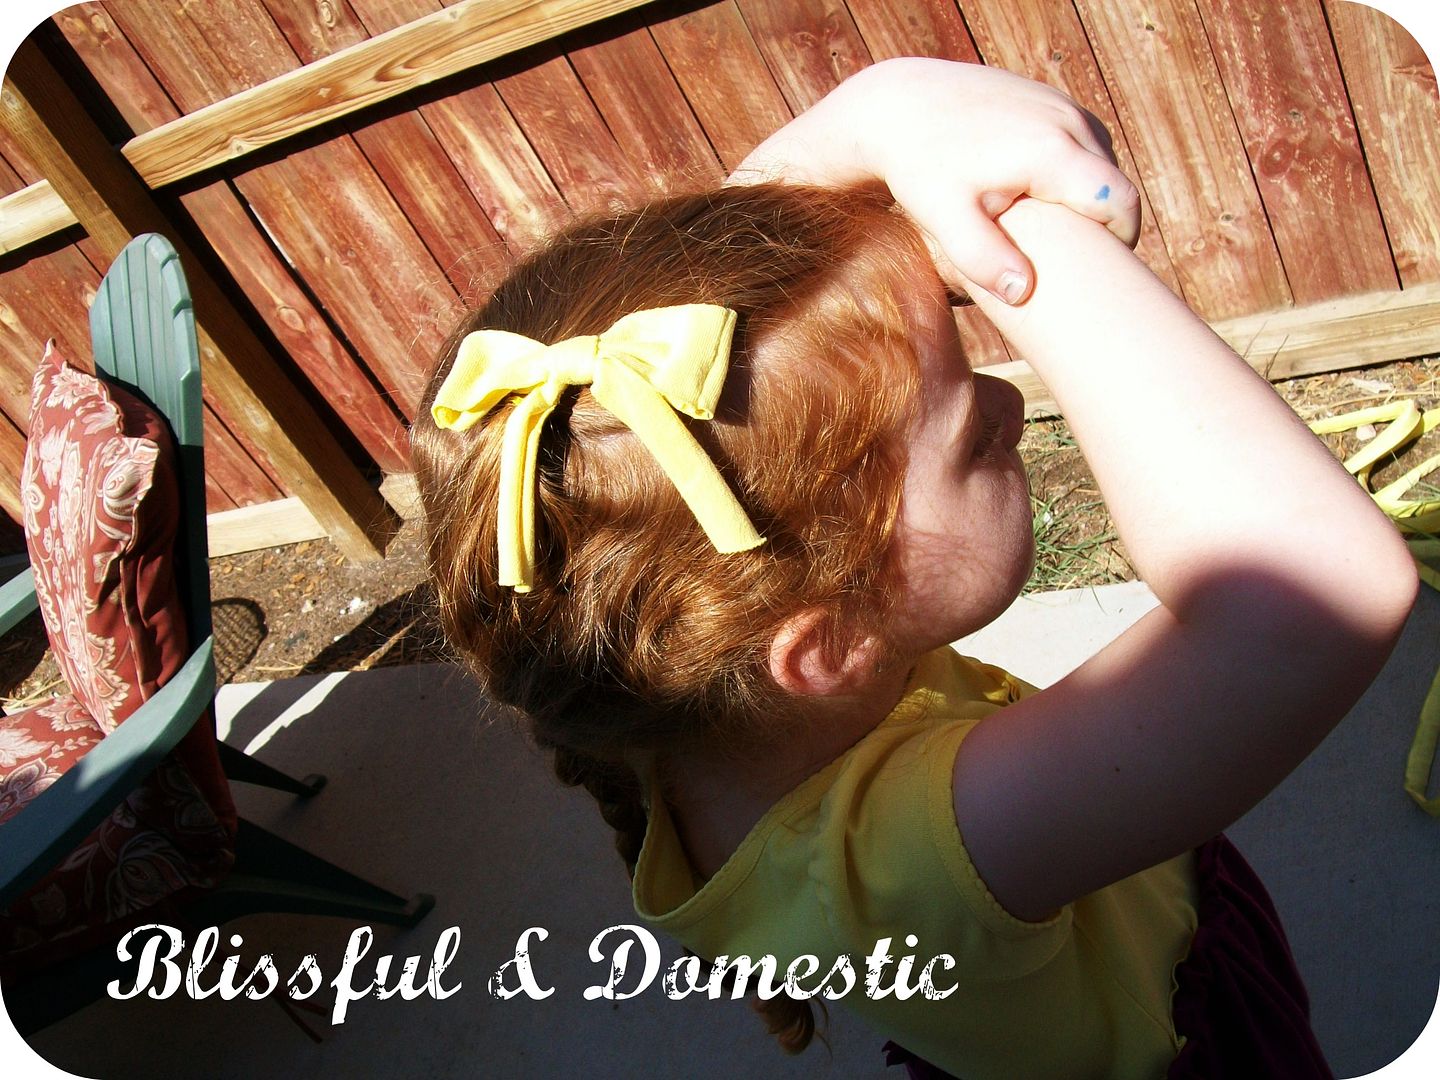
If you have extra scraps, you can make another bow for her hair.
I just used bobby pins to secure it to her pony-tale.
I hope you guys enjoyed this how-to and don't forget to stop by
and say hi sometime.
I'd love to have you!
-Danielle




This is adorable!! For about the millionth time since I started blogging... I really need to learn to sew!!
ReplyDeleteSimply stunning! I've never really tried to make tags before. Yours are absolutely amazing!
ReplyDeleteJust wanted to let you know I love your blog and am your newest follower!
ReplyDelete